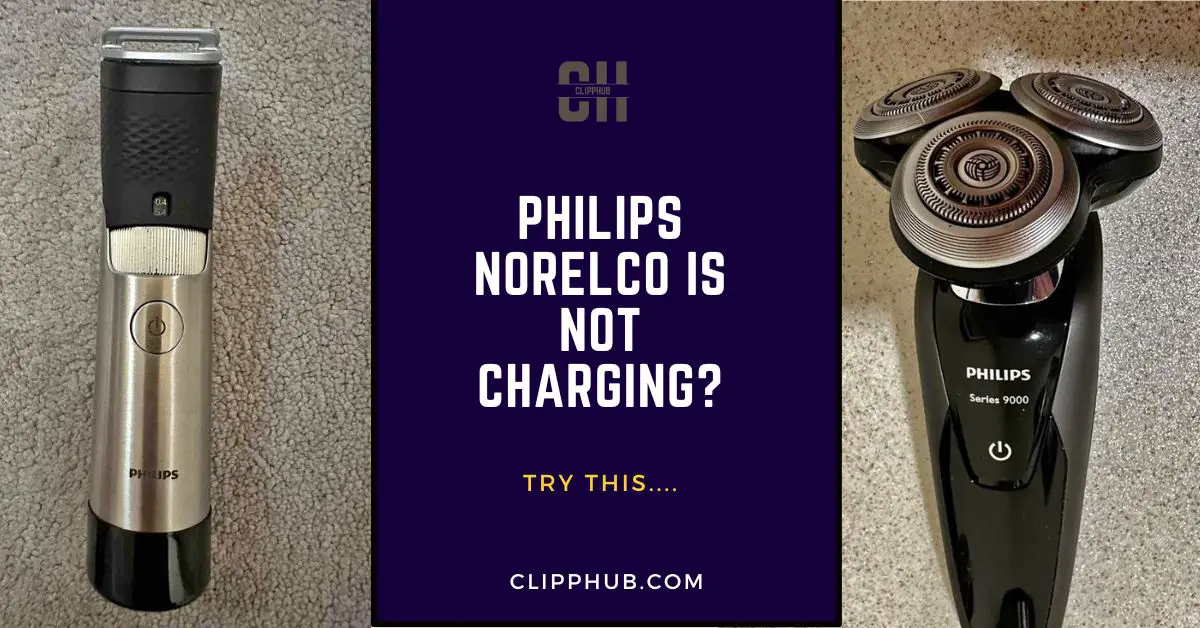
So your Philips Norelco is not charging…
Well, you’re in the best place for answers.
In this guide, we’ll go through the 4 things you must look at to get your Phillip trimmer cutting to best once more.
The #1 single trick you can do today to juice your trimer.
And… what you have to know about this trimmer is that could mean they are simply out of commission.
So with that said, take a look at the table of contents and let’s get into it.
Philips Norelco is not charging
The reasons why your Philips Norelco’s don’t charge could be:
- Dirty contact points
- Blown battery
- Incorrect angle of charge
- Mlafuntioniung internals
But, before troubleshooting your shaver make sure you are past your warranty date.
If you are on your warranty date, attempting to fix it could void you of a free replacement/ refund or service.
First, always contact Philip and read the specific manual of your timer/shaver and check for shaver specifics to make sure everything is intact before attempting to fix it.
Also if you have a warranty always look to drop your shaver off at your nearest service drop-off point and get their team to solve it first.
But if you want to give it a go yourself, the guide is below. Take a look
Let’s start with the basics.
Reset your shaver:
Sometimes, a simple reset can fix minor glitches and restore normal function to your shaver.
To reset your shaver, press and hold the power button for at least 5 seconds until you hear a beep sound and see the display flash.
Then release the button and plug in your shaver to charge it normally
But before you place it makes sure the contact (the point where your charger goes into your trimmer), is clean.
Dirty contacts:
These are the points where your shaver/trimmer and cord/dock meet.
You” want to clean both.
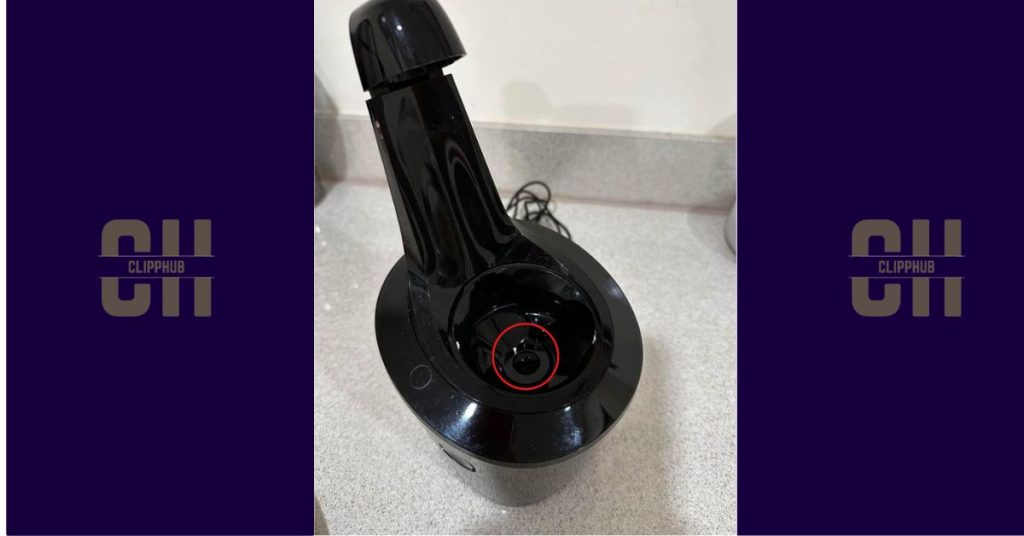
If the contacts on your shaver or charger are dirty, such as having dust, lint, oil, or corrosion on them, they may not make a good connection and prevent your shaver from charging properly.
This can result in a slow or incomplete charge or no charge at all.
Clean the contacts on your shaver and charger with a soft cloth and some rubbing alcohol and make sure they are dry before plugging them in.
If you still have no luck, check your charging adapter and cord for signs of damage – do this while the cord is unplugged.
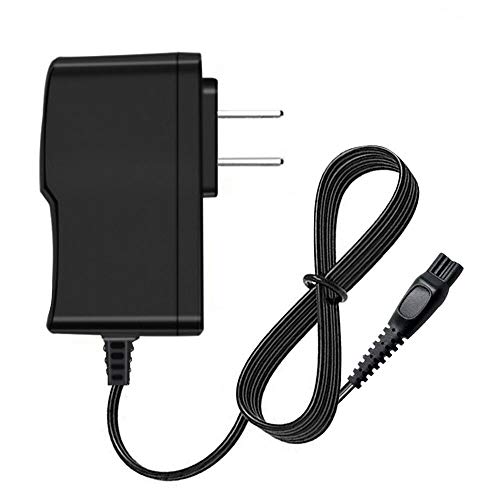
If you notice any damage to your adapter or cord that’s most likely the problem, stop using your trimmers immediately. And look to get a replacement charger such as the one below.
If the charger is in good shape, then it could be the outlet you charging it into.
- Make sure it’s not the specific power outlet you using.
Try using a different outlet and see if that changes anything.
Unplug it from the wall then plug it back in, then unplug it from your trimer itself, then plug it back in.
You can even give your cord a wiggle and see if your trimmer starts charging or not, sometimes the problem can be internal.
And remember not all Phillip trimers use the same charger, so make sure you use the charger associated with your specific trimmer, (The one that came with the box).
Charge for the 1st time
Let’s assume it is the first time you charging your trimer…
The battery with Phillip Norelco’s will often take their time to charge especially if they are brand new or you’ve left them for a while.
- Your battery will charge slowly to prevent damage to your shaver. Try to leave your trimmer to be charged for at least two hours, then recheck the charging status.
If the battery light doesn’t flash, don’t panic!
It is normal for the battery light indicator not to flash during the first few hours of charging after a long period of not being used.
But at the same time your light may be damaged, so be sure to let your battery run flat, then charge it turn it on see if it powers into action.
Your trimmer may be charging, it’s just the indicator doesn’t work.
- For some Phillip products, you will not turn on when it is plugged into the charger. So take them off charge before accessing.
Philips shaver not charging problem
Do all the steps that we stated above, but now we’ll go into more detail on certain fixes for all the Phillip Norelco trimmers.
Some of the steps below involve changing out the battery.
But remember.
Some Philips trimmers are designed to work on a wide range of voltages, typically between 100-240V making them compatible with most voltages from around the world.
But… there are some Philips trimmers that are designed to work only on specific voltage ranges, such as 110-120V or 220-240V.
It’s important to check the product specifications and the user manual of your Philips trimmer to determine its voltage compatibility before using it in a different country or with a different electrical system.
If in doubt, it’s best to contact Phillips.
Phillip One Blade Not Charging
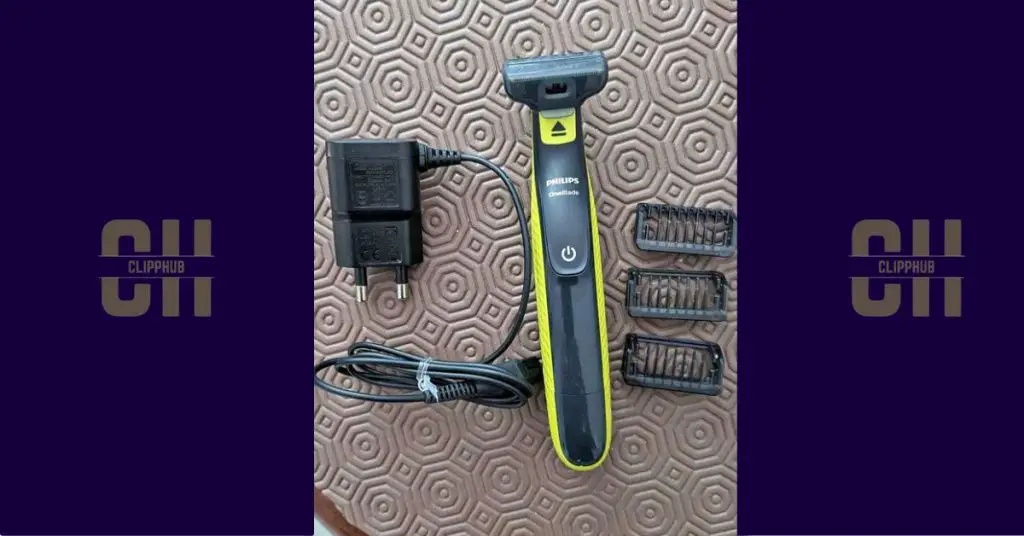
Make sure everything is right and you’re charging your trimmer right in the first place as shown below:
When it comes to the Norelco One blade this trimmer has a reputation for not having the best battery, so if it stops working, it’s quite normal.
So some circumstances, the battery on the Norelco is often dead or dying so you’ll need to replace the weak battery with a better one as shown below:
Proceed to remove the battery by cutting a small line into the plastic where the battery touches the base (towards where the charging port goes) then a screwdriver screwdriver like a chisel into the opening and tapping onto the screwdriver with a heavy object to separate the battery solder contact from the flat metallic wire.
Ultimately this would make it easy to take out the battery since there is less solder, then you could cut out small pieces of aluminum can and weld them onto both sides for better conduction & insert a new rechargeable AA battery in there
Remember – (minus end towards charger port and plus facing the motor)…
This video goes through the process:
If the battery is fine and you’ve replaced it but the trimmer still doesn’t come on after you know you’ve charged it, then the problem could be with the power switch:
Check out this video for a fix:
If your trimmer still doesn’t respond or the charging light blinks orange(a sign of defect), you may need to replace your One blade or contact Phillip for a refund or replacement if it’s still relatively new.
You can pick up a one-blade form below.
Philip Multigroom
If your Norelco Multigroom doesn’t charge, make sure you go through all the previous steps mentioned above before attempting to fix the battery.
If you’ve gone through all the steps and still find your trimmer doesn’t charge, try the steps below:
Philip Muti-groom MG3740 Battery
Open it up and see if any wires are loose. If not try to swap the battery. Most I have opened use 2 AA size rechargeable. Some newer ones use 18650 batteries.
Have also had several stalls due to clogged heads. Try deep cleaning it and putting some oil on the blades.
Does a light come on when plugged in? If not check the cables, if it’s not the cables it’s the charging circuit probably a blown battery.
Here’s how you can look to fix it.
If it’s not the cable and you’ve tried to fix the battery and the power switch isn’t a problem, then you may have to look into getting a replacement.
But if you’re on your warranty date, you can always contact Phillips for a new charger.
Philips Norelco is not turning on
If your Phillip Norelco won’t turn on, oftentimes, you’ll find the problem lies with the power button on the trimmer.
Like the one-blade, it’s an easy fix.
This video shows you how to fix your Phillip Norelco if it doesn’t turn on:
If after all of this, you still can’t find any answers, then you can get in contact with Phillip for a replacement or exchange.
Conclusion
In this article, we went over why your Phillip Norelco isn’t charging.
The problem could be:
- Damaged charger internally/ externally
- Incorrect charging orientation
- Weak/ dying battery
- Faulty power button
Always contact Phillip if you bought the trimmer from them and look to get a replacement if you are still in your warranty.
If you found this article helpful, check out other articles on this topic below

