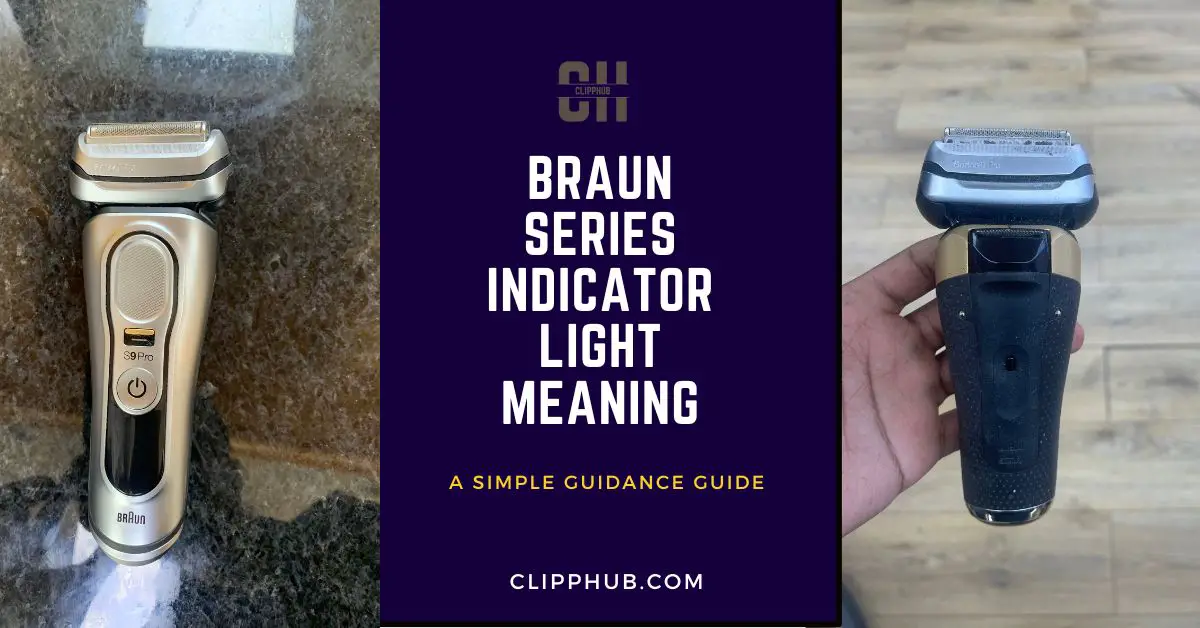
Are your Braun shavers currently flashing random lights that you simply don’t understand?
If that’s the case, then you’re in the right place for answers.
In this article, we’ll look at the Unlock Braun Series Indicator Light Meanings…
You’ll learn the 3 main types of indicators and I’ll point you to where you can find the manual for your specific Braun shaver Model so you can troubleshoot your own shaver should you need to do so.
With that said, let’s get into it.
Braun Series Indicator Lights Meaning
The Lights on your Braun shaver are broken up into 3 sections/meaning:
- Red
- Bue
- Green
In this article, we’ll run through each and what they mean for the Braun series 6,7,9.
Braun series indicator lights meaning shaver
Let’s take a look at the indicator lights on them.
There are three types of indicator lights on these shavers: green, blue, and red. Each color has a different meaning and function.
Let’s start off with green.
Green Indicator Lights
The green indicator lights show the status of the battery and the charging process. There are four segments on the display that indicate the battery level:
- high (four segments), medium (three segments), low (two segments), and empty (one segment).
When the battery is fully charged, the high segment will light up continuously when the shaver is switched on or connected to an electrical outlet.
When the battery is running low, the empty segment will flash when the shaver is switched on or connected to an electrical outlet.
When the battery is completely empty, the empty segment will flash rapidly when the shaver is switched on or connected to an electrical outlet.
When you plug in your shaver to charge it, the green indicator lights will flash one by one until the battery is fully charged. Then they will light up continuously to show that the charging process is complete.
It takes about an hour to fully charge your shaver from empty to full. You can also use your shaver while it is plugged in if you need a quick shave.
Blue Indicator Lights
The blue indicator lights show the status of the cleaning and maintenance process.
There are three symbols on the display that indicate different functions:
- A faucet symbol for cleaning mode selection, a droplet symbol for cartridge exchange reminder, and a brush symbol for manual cleaning reminder.
The faucet symbol shows you which cleaning mode you have selected for your shaver.
There are three cleaning modes available: short (eco), normal (normal), and intensive (high). You can select your preferred cleaning mode by pressing the button on the front of the cleaning station.
The short mode uses less cleaning fluid and energy but takes longer to dry your shaver. The normal mode uses more cleaning fluid and energy but takes less time to dry your shaver.
The intensive mode uses the most cleaning fluid and energy but also cleans your shaver more thoroughly.
The droplet symbol shows you when you need to replace the cartridge in your cleaning station.
The cartridge contains an alcohol-based solution that cleans and lubricates your shaver.
It lasts for about eight weeks or 30 cleaning cycles depending on how often you use your shaver and which cleaning mode you select.
When you see the droplet symbol flashing on your display, it means that your cartridge is running low and you need to buy a new one soon.
When you see the droplet symbol lighting up continuously on your display, it means that your cartridge is empty and you need to replace it immediately.
The brush symbol shows you when you need to manually clean your shaver under running water. This is recommended after every shave or at least once a week to remove any hair or debris from your shaver.
To manually clean your shaver, you need to remove the foil and cutter cassette from the head and rinse it under hot water. You can also use a cleaning brush to gently scrub the shaving elements.
Then you need to shake off the excess water and let it air dry. You can also apply a drop of light machine oil to the foil and cutter cassette once a month to keep them in optimal condition.
Red Indicator Lights
The red indicator lights show the status of the shaver performance and the replacement of the foil and cutter cassette.
There are two symbols on the display that indicate different functions: a plug symbol for travel lock activation and deactivation, and a reset symbol for foil and cutter cassette replacement reminder.
The plug symbol shows you when you have activated or deactivated the travel lock on your shaver. The travel lock prevents your shaver from accidentally turning on when you are traveling or storing it.
To activate the travel lock, you need to press and hold the on/off button for three seconds until you see the plug symbol flashing on your display.
To deactivate the travel lock, you need to press and hold the on/off button for three seconds until you see the plug symbol disappear from your display.
The reset symbol shows you when you need to replace the foil and cutter cassette on your shaver. The foil and cutter cassette are the parts that actually cut your hair and they wear out over time.
It is recommended that you replace them every 18 months or sooner if you notice a decrease in performance or comfort.
When you see the reset symbol flashing on your display, it means that your foil and cutter cassette are due for replacement.
When you see the reset symbol lighting up continuously on your display, it means that your foil and cutter cassette are overdue for replacement.
To replace the foil and cutter cassette, you need to press the release buttons on both sides of the head and lift off the old foil and cutter cassette.
Then you need to snap on the new foil and cutter cassette until you hear a click. To reset the replacement reminder, you need to press and hold the on/off button and the + button simultaneously for three seconds until you see the reset symbol disappear from your display.
But, if you want specific details on your Braun shave model, check out this useful guide on Braun Models.
But if you’re looking to troubleshoot your shaver, always look for your nearest service drop-off point and get their team to solve any problems meddling with your shaver beforehand could void you of warranty.
Conclusion
I hope this article has helped you understand Braun Series Indicator Lights Meaning for the 6,7,9 shavers
These shavers are designed to give you a close, comfortable, and convenient shave every time.
By following these tips, you can make sure that your shaver stays in top shape and delivers optimal performance for years to come.


