How to Use Guards on Clippers (Step-by-Step Guide)
Knowing how to use guards on clippers can help you to get the look you want in a matter of minutes.
No need for a barber. If you have the knowledge, all it takes is some practice and you can get as good as any professional.
In this article, I’ll show you how to use your clipper guard to fade and the different lengths.
We’ll go over the lever, the guards, and what you must be aware of when looking to style hair.
And.. I’ll show you some of my work so you have an ever better understanding!
So with that said, let’s get into it.
How to Use Guards on Clippers
You can use clipper guards to cut hair to one level or you can use them to blend harsh fade lines seamlessly
What but what exactly do guards do?
When using clippers to cut hair, clipper guards are a useful tool that can prevent you from cutting more hair than you need.
These guards come in different sizes and can be attached to the clippers to achieve different hair lengths.
If you’re not planning on cutting hair too short, you might not need to use all the guards that come with the clippers.
It’s also important to understand how the lever on the clippers works. The lever can be adjusted to modify the length of the cut, even with the same guard attached. (We get to that later)
But before you get to using guards, you must understand how they fit on your clipper.
How to Put Guards on Clippers
When it comes to putting guards on your clippers you need to pay attention to what type of clipper guard you actually own.
There are different types of clipper guards:
- Standard plastic clipper guards
- Clip-on clipper guards
- Magnetic clipper guards.
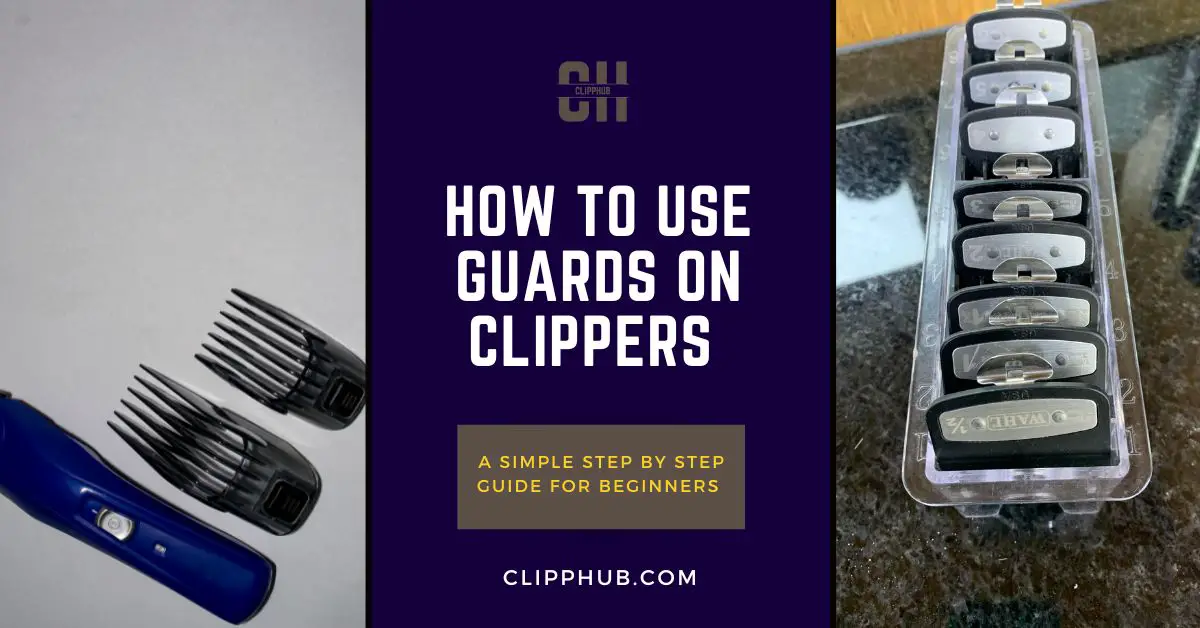
Standard clipper guards
With standard clipper guards, you simply just clip the guard onto your blades and make sure it is secure.
These types of guards come with most clippers and simply attach them to your model.
Here’s how you attach them.
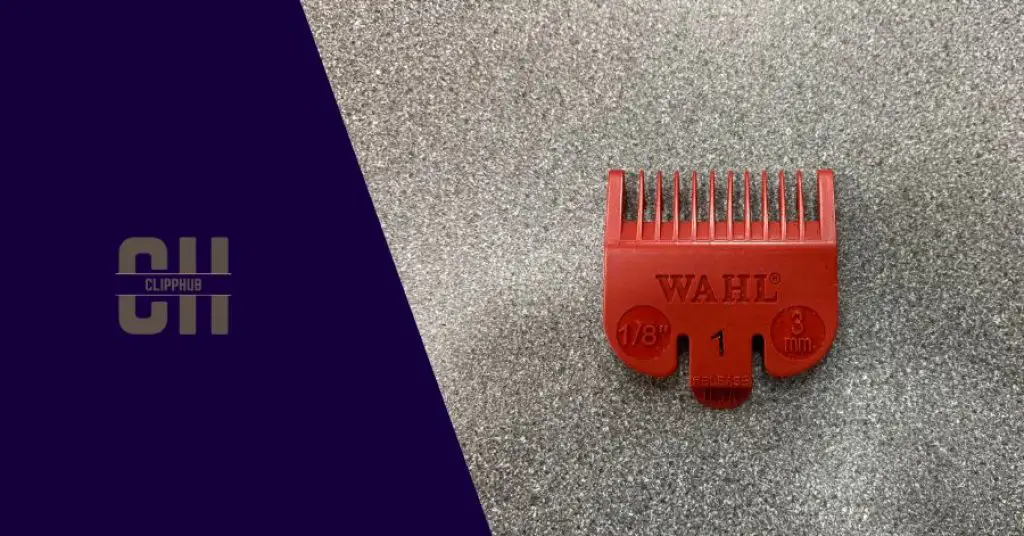
Premium guards
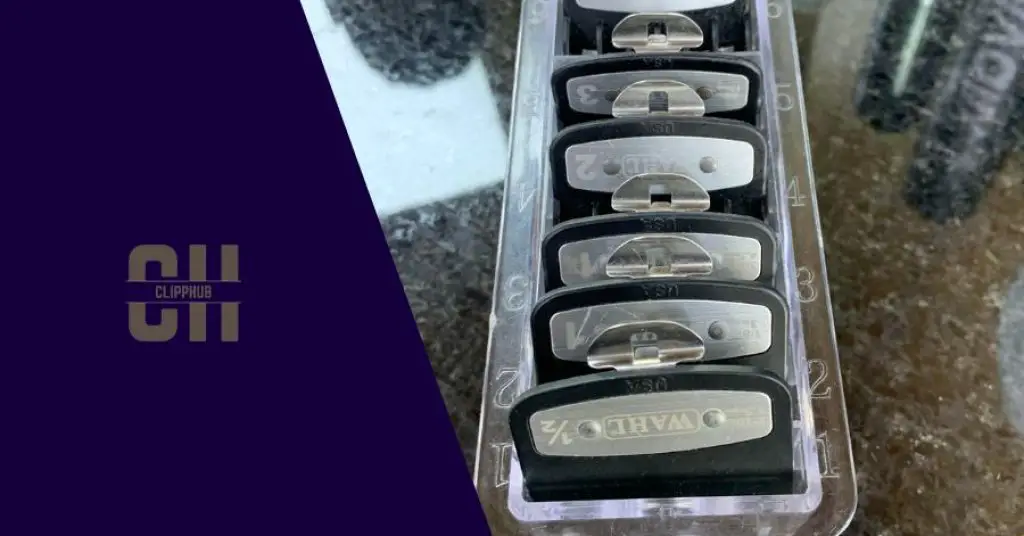
Premium clipper guards work the same way, as standard clipper guards.
However premium guards such as the wahl premium clipper guard set are higher quality and the guard clips onto your clippers and tend to last longer.
Magnetic clipper guards
These types of guards simply just snap onto your clippers no need for clipping.
The most popular type of magnetic guard is the Andis clipper purple magnetic guard which comes in single or double magnets.
They are also classed as premium guards and give a close cut.
How to use Clipper Guards
When looking to cut your especially fade, you need to understand how to transition between your guards.
If you have a lever-based clipper, this will greatly help you to transition between each clip.
With lever-based clippers, when your lever is open, your clippers cut less hair and when they’re closed, they cut more hair. This is with no guard.
I go more in-depth with this is my guide on how clipper guards work.
How Do Clipper Guards Work? (Understanding Clipper Guards)
By using this knowledge, each guard can slowly blend into one another.
Let’s say for example, you have a 1 ½ guard and your ‘lever is closed’, if you open up your lever all the way to becoming ‘open’, that 1 ½ now becomes a two.
So now, that 1 ½ with your lever open is now the same as you have a 2 guard on your clippers with the lever closed.
The lever adds and removes half a guide or 1.5mm of hair depending on whether it’s open or closed.
That’s how your guard and your lever work with each other.
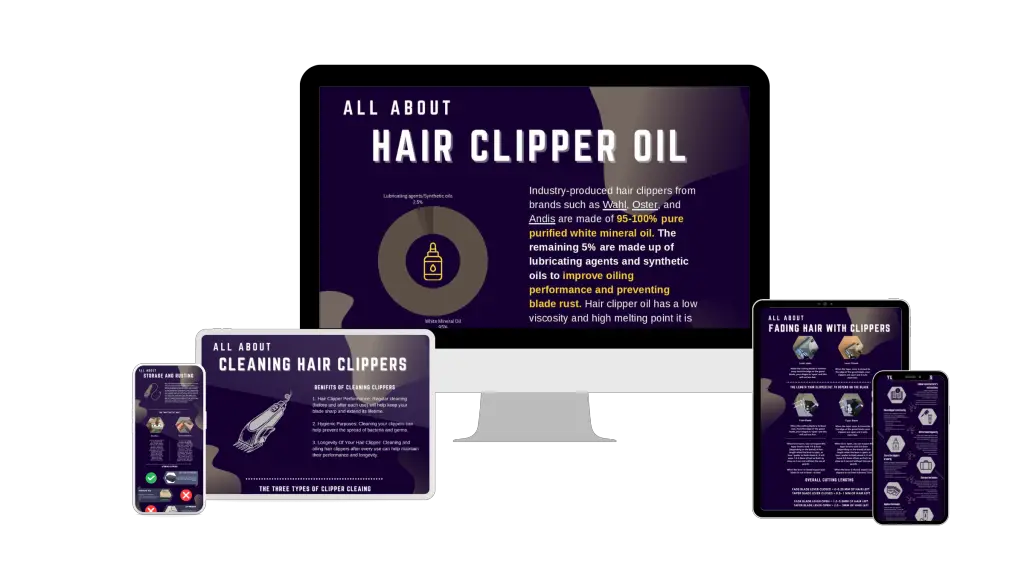
This guide has been a quick overview of understanding how your clippers work, but did you know this is only a small part of mastering your clippers?
Why not cover, cleaning, oiling, troubleshooting, and even how to use your clippers to fade using the 1-minute Clipphub cheatsheets from the New Clipper Mastery Bundle?
Fast-track your clipper mastery by grabbing them below:
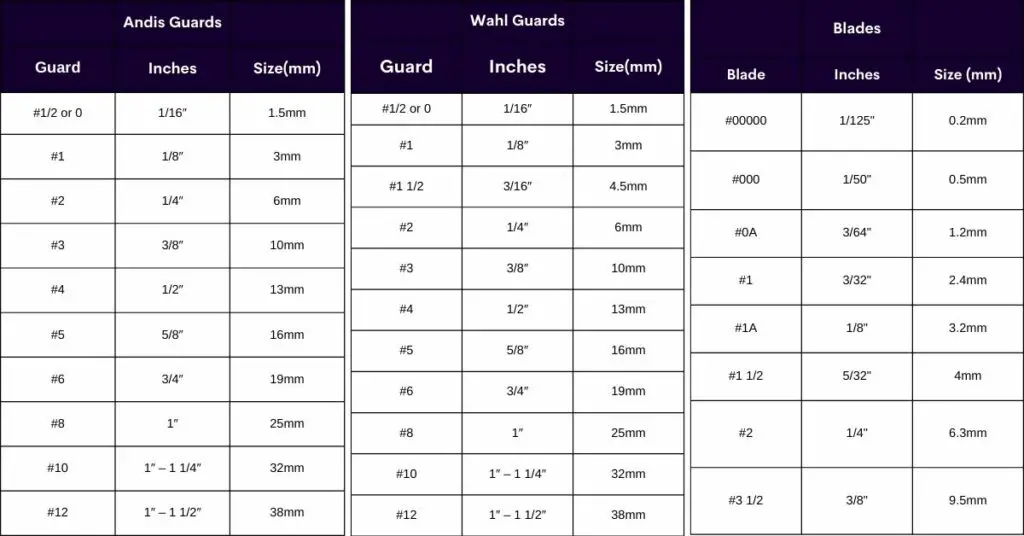
When it comes to fading, use only one type of guard set!
Don’t interchange between different guards I.e going from wahl guards to andis guards etc.
Not only is it confusing but there’s ever so slightly a small change in how much hair they cut even though on the guards themselves, they have the same number, I’ll get to that later.
So save yourself the confusion and stick to one set.
Also, depending on whether your clippers are zero-gapped or not, you could be cutting more hair on average than default clippers.
But if you are new to this, you shouldn’t have to worry.
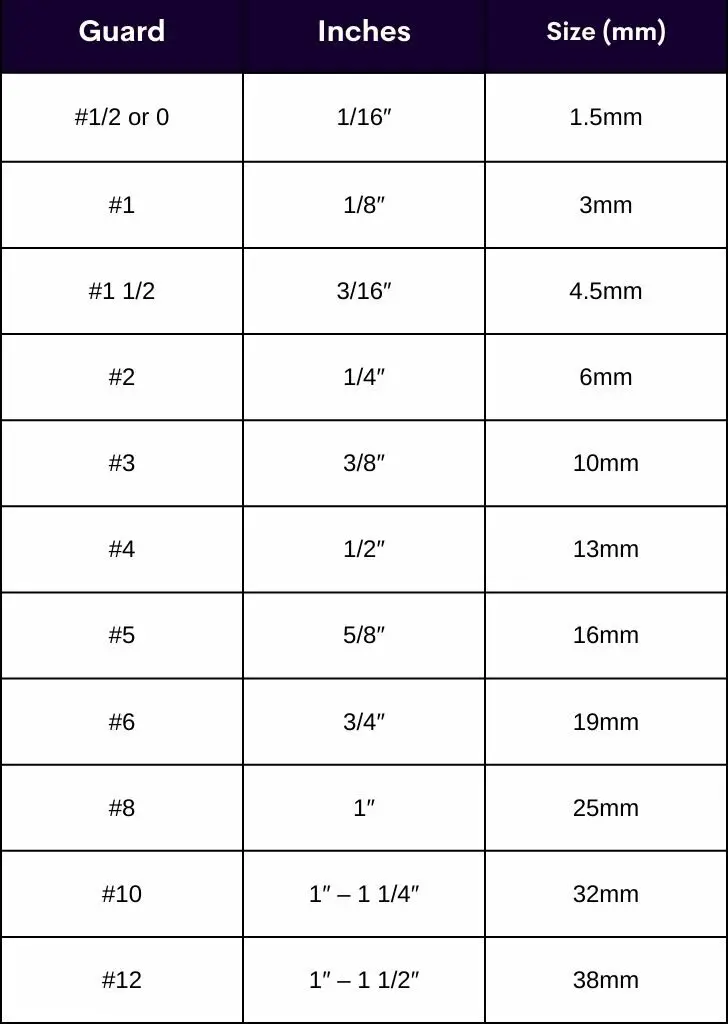
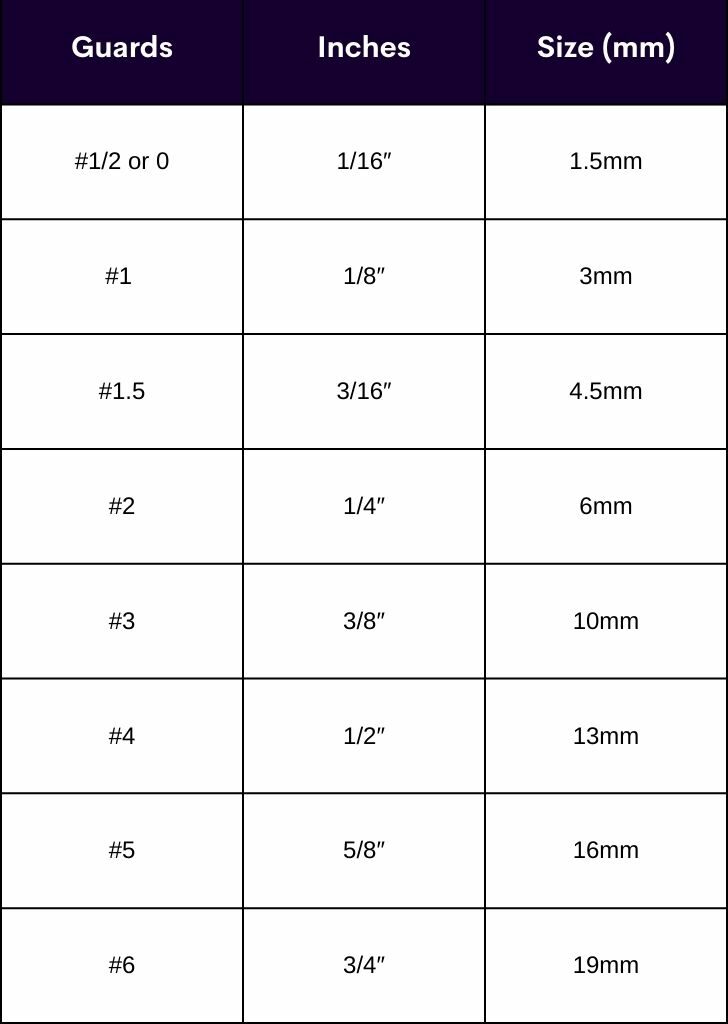
Below are the different lengths that guards from the most popular clipper companies produce.
Wahl
Andis
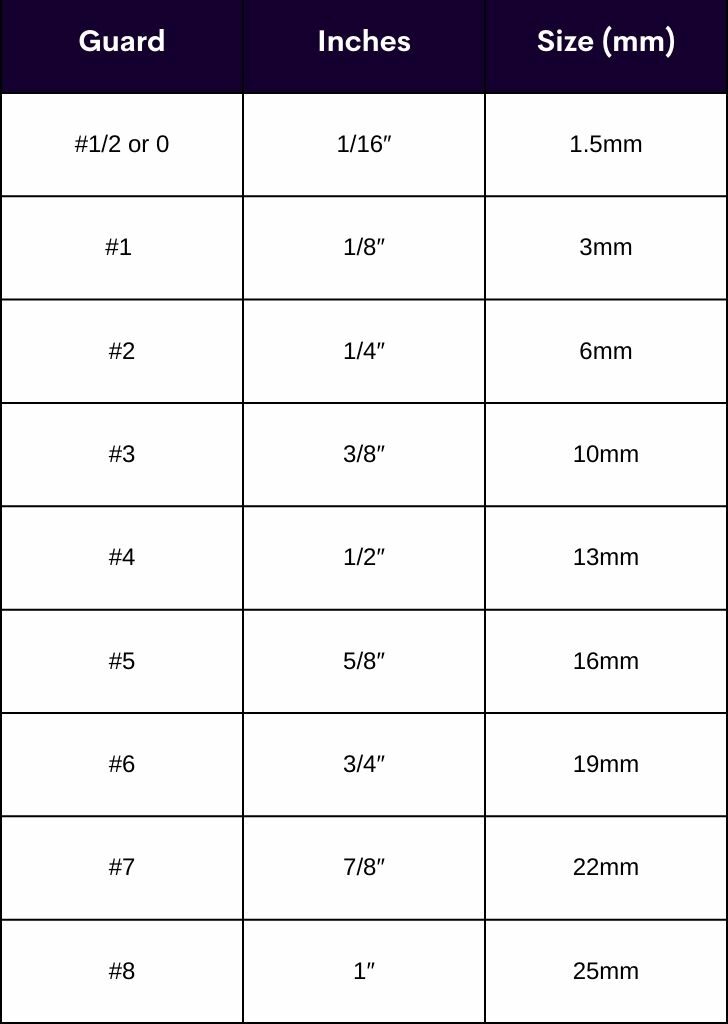
Babyliss
Now if you’re looking to just take your hair off all at the same level, just close your clippers, slap on the length of hair you want to keep, then go to town.
If you are after a buzz cut for example that’s what you can do.
But if you are after a more detailed style like a taper fade, below I’ll show you how you can use your guards and lever to fade.
Fading with guards
For beginners, if you are not truly comfortable with adjusting your lever in or out, I recommend you start off with just moving your clippers between open and closed and halfway, that’s all you’ll need.
Then let the guards do the cutting, don’t worry about tiny movements of the clipper lever.
So let’s say you want to fade with the top of your hair leaving #2 guard level ( 6mm of hair on the top side) and 0 mm of hair on the bottom.
How to Use Hair Clippers With Guard
Here’s how I would approach it if I was a beginner.
Let’s say you want to do a taper fade. (Popular hairstyle)
Step 1: Trimmer – no guard
The first step is to use the balders/trimmers to set in the bald guidelines for the taper
Get your trimmer and set a line at the bottom of your hair go as down as you can as this will virtually cut all your hair off and will be the bottom part of your blend.
Step 2: Set your clipper lever to open – no guard
The next step is to use the clippers with the lever fully open to set in the next guideline slightly further up, maybe 1cm thick between both.
you’ll notice as you do this there’s a slight difference between the guideline you set with your trimmer and the line you now created with your clippers ‘open’
That gap is 1.5mm worth of hair, you’ll fade the two together next.
This gap we’ll fade together next.
Step 3: Set your clipper lever to midway – no guard
Now take your lever and set it to midway(that’s halfway between ‘open’ and ‘closed’).
Take your clippers and cut from the line you set with your trimmer slowly going up. Move your hand with delicate movements and don’t go up the line you set with your lever fully ‘open’.
If you do so, you’ll be completely taken out of line as your now currently cut more hair.
Now if you take your time and your blend well enough, you’ve blended the first part of your hair.
Success!!
(If your feeling confident, you can move the lever to more closed or open and you can blend further)
Step 4: 2 guard, lever closed
Now take your 2 guards and close your lever.
This will strictly leave ¼ inch or 6 mm of hair.
Next, use the 2 guards with the lever closed to flick out the hair for a smoother transition to the top part of your hair. (The bulky actual hair your not fading.)
After this, what you should have is the top part of your taper fade set at the #2 (6mm, ¼ inch) worth of hair and the bottom part of your fade (0.5mm worth of hair currently blended into (0mm).
Now we just have to make the two connect
Step 5: 1 ½ guard, lever closed
Then get the 1 ½ guard (4.5 mm) guard with the lever closed and do the same flicking out, but slightly lower than you did with the 2 guards.
This with take out the hair below you’ll now blend into your 2 guards.
Step 6: 1 guard lever closed
Now to finish off, grab your 1 guard with the lever closed again, and go up slowly, then flick out as per usual
This will now blend into your ½ and the lever open, no guard guideline you made at the start of these steps.
Now you should see the fade you were after.
Step 7: ½ guard lever open
Now if your want to take it one step further set your clippers to ½ guard lever open. (Turns it into 1 guard lever closed)
Go to the ½ guideline which you’re set with your lever ‘open’ now guard( if you can find it).
Not from there, slowly flick up, but as you do, slowly close your clippers as you get to around your 1 guard lever closed guideline.
This should now really blend the two lines together if there were any obvious lines before.
Remember- the 1 guard lever closed is the same as your ½ guard lever open. )They both leave 3mm/ ⅛ inch of hair.)
Now you should have a crisp taper blend as you can do the same for the other side of your hair.
This is a video of my work, check it out if you prefer learning visually:
Can you use clippers without a guard?
Yes, you can use hair clippers without guards but you’d ultimately be limiting yourself.
A (lever-based clipper) will only be able to cut no less than 1.5mm and that’s with the lever open.
So if you want to keep more hair, you should be using a clipper guard.
They give you more freedom to cut at a wide range of hair lengths.
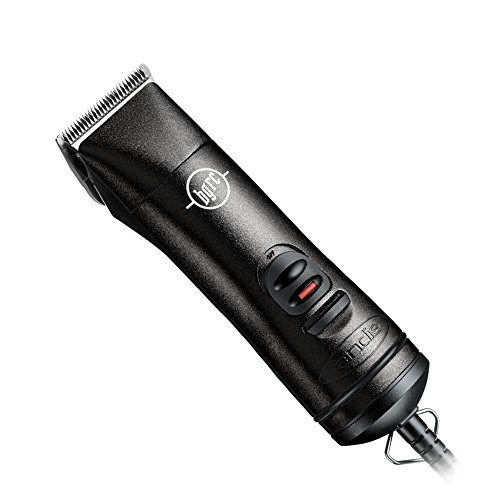
Alternatively, if clipper guards aren’t for you, and you don’t like moving between levers and guards you can opt for a detachable clipper.
Detachable blade clippers don’t use guards and don’t have levers.
They cut at the exact lengths said on the said blade.
Detachable clippers are more precise in the lengths h they cut (especially as you get to the smaller sizes).
But to get the full range of cutting lengths you have to get the full set of blades for your specific detachable clipper.
If you looking to get a detachable clipper, below are the best-performing ones at their current best price.


Is It Safe to Use Trimmer Without Guard
Detachable clippers or any naked clipper are always safe to use.
Clippers are designed to always cut hair without cutting skin.
As long as the cutting blade (smaller blade) is always begging the guard blade (big blade) your clippers won’t cut you.
However, If the cutting blade is above the guard blade your clippers will bite.
I provide a guide on how to stop your clippers from biting.
How To Stop Clippers From Biting (Tame your clippers)
Conclusion
In this article, we went over how to use guards on clippers.
Clipper guards cut at different lengths. The bigger the guard number, the more hair is left after a cut.
Using your clipper lever, you can blend different lengths together.
But with a detachable clipper, you can only cut at the length set.
If you found this helpful, check out other articles on this topic below.