How To Sharpen Beard Trimmers (The Complete Guide)
Knowing how to sharpen your beard trimmers can bring your blades back to life.
But what is the best approach? What are the signs you need to sharpen your trimmers?
I go through all of that within this guide, (as well as the two types of sharpening you must know if you want your blades to last longer).
Let’s get into it.
How to sharpen beard trimmers
Sharpening your beard trimmer blades is quite straightforward Here is a quick on the steps you need to take to get it done.
Take one of the blades and put the flat side of the blade at the top of your 180 grit sandpaper with the blade teeth facing away from you.
When you notice a difference in the look of the blade, take it off the 180-grit side and do double the number of strokes on the 240-grit sandpaper.
This will buff out the blade.
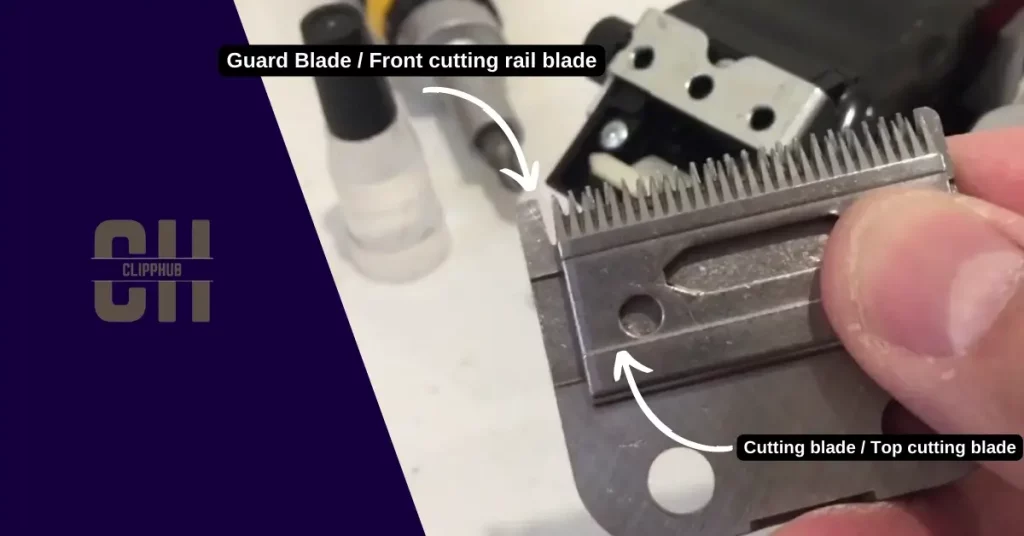
Do this entire process for both your cutting and guard blades.
Now, this is only a quick run-through of flat blade sharpening on sandpaper of how to sharpen your beard trimmers but is it something you can do whenever you want?
Is it actually good for you to sharpen your beard trimmers?
We go over this next.
When Should You Sharpen Your Beard Trimmer?
The method of sharpening I outline above and below in more detail is flat surface sharpening.
Flat blade sharpening is a boost you can give to your trimmer at home when they show the #1 sign of a blade of trimmers in need of sharpening (We’ll get to this later).
But there’s a reason professional blade sharpening is important, that’s because flat blade sharpening doesn’t give blades the natural hollow that’s needed to really make them sharp and highly effective.
In order to do hollow blade sharpening, you’ll need to do a grinding wheel. These wheels are expensive but they have a unique property that allows them to create a “hollow” in a blade.
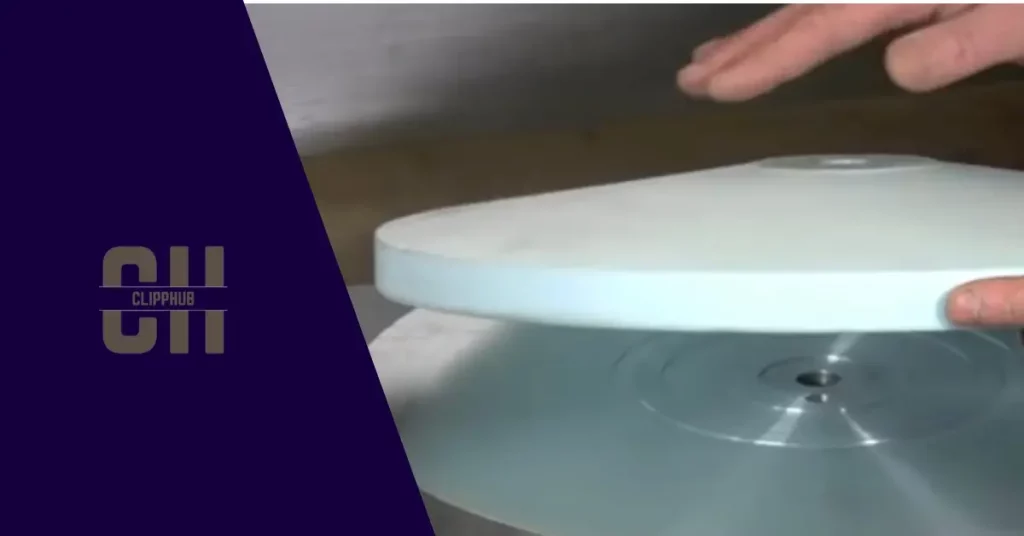
These sharpening wheels have a slight slant to them.
When a blade is passed over this wheel it creates a hollow on a blade that’s hard to notice if you don’t know what you’re looking for, but your blade gets this shape:
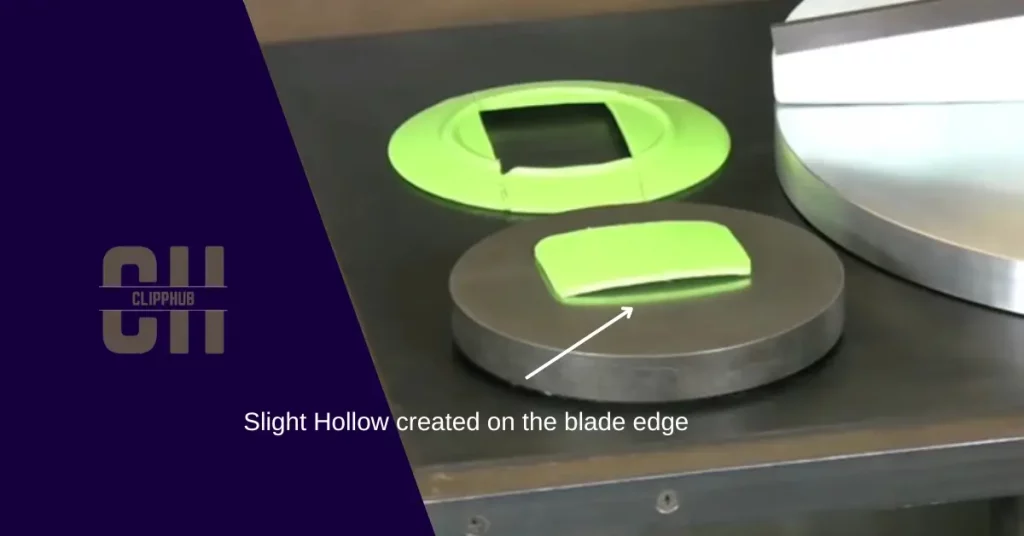
look at your baldes very closely, they’d have this shape.
Proffesional blade sharpeners can see it, it’s subtle but can make a big difference to how your blades cut.
The degree to which this hollow is formed depends on the:
- Sharpening angle
- Pressure was applied while sharpening
- The duration of sharpening
What are the benefits of this?
This intentional unevenness serves a purpose. When the edges of your blade(the lowest point of the blade), make direct contact with the hair being cut, the sloping effect helps guide the hair to the center of the blade(the “highest” point of the blade).
The unevenness of the hollow ground blade helps with efficient hair capture and cutting. As the trimmer moves through the hair, the center of the blade, which is the sharpest and highest point, does the bulk of the cutting.
The sloping sides of the blade guide the hair towards the center, ensuring a smooth cutting action and preventing the hair from getting caught or pulled.
Flat sharpening which is the method outlined in this guide, is more of temporary blade sharpening that will definitely sharpen up your blades, but if you keep doing it over many years, your blades will lose their natural hollow.
But don’t do it more than 3 times before visiting a professional blade sharpener to get hollow back in your blades.
Proffesional blade sharpeners will know the right hollow for your blades and are a good investment for your blades’ longevity.
Search for one in your local area once you’ve flat-sharpened your blades a few times.
But again… don’t panic if can find a blade sharpener. Flat blade sharpening is effective enough to get your blades cutting better but if you want the best treatment for your blades visit a proffesional for hollow ground sharpening when you can.
Signs To Look Out For Before Sharpening
Now, although sharpening your beard trimmers can bring back some cutting performance to your blades, you must also realize the negatives.
These are some of the negatives of sharpening your beard trimmers.
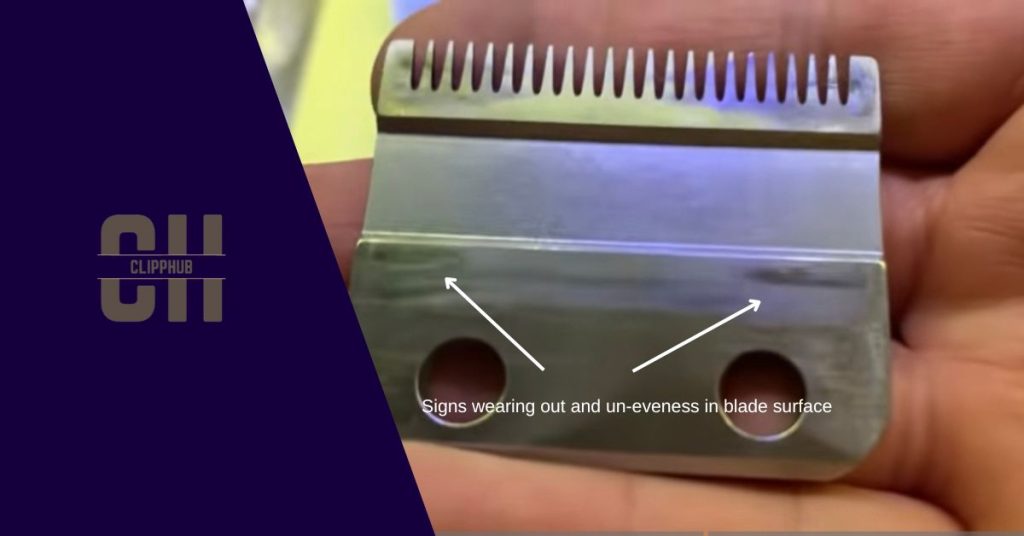
Uneven Cutting
Over-sharpening the blades of your beard trimmer can make the edges thin and worse, slightly uneven.
From that, you may get a very inconsistent cutting experience with you cutting more hair on one side of your trimmers compared to the other.
This can happen when you lean or apply pressure to one side of the blade compared to the other.
Uneven cutting can be quite annoying, as it can make it quite difficult to achieve the desired look yours after.
Going over the hair again at different angles to balance it out may have you pulling it out with your hands.
Rust or discoloration.
Firstly, rusted trimmers can be dangerous.
You should be wondering whether you even want to put these anywhere near your face.
Rust certainly can dull your trimmers but sometimes the result can be too severe and flat blade sharpening won’t be effective against it.
But you should be also aware of the fact that your trimmers now are more brittle and weak and sharpening them can be the tipping point to breakage.
But, if it’s a pair of trimmer baldes you love and you can’t replace the blades, look to consult a professional for their opinion.
Blade Damage
When Sharpening your trimmer blades, you must be aware that you’re essentially chipping away at your blades.
Although it’s minimal and consistent, it’s still what’s being done to your blades. But there’s a point where it’s too much.
Over-sharpening your beard trimmer can cause excessive wearing on the blades.
Over-sharpening your beard trimmers can reduce their lifespan.
If the blades are sharpened too frequently or aggressively as I said above, they don’t only wear out but also take life away from them.
If you keep sharpening your trimmer, you could just decrease the time until you have to replace the whole blade entirely.
So don’t flat sharpen your blades more than 3 times at home (But even this may vary depending on the amount of wearing), Then after looking for a professional sharpener you get your hollow back.
Safety:
Remember that you are sharpening your trimmer.
You pose the risk of making your blades so sharp, (they can become a safety hazard, this is especially the case for the cutting blade).
It’s not exactly a problem per se to have sharp trimmer blades, you just need to make sure you put your cutting blade back on your trimmer correctly to avoid cutting skin.
WHEN TO SHARPEN YOUR BEARD TRIMMERS
I’ve just gone over the reasons why you should avoid shadowing your trimmers.
However, that shouldn’t deter you from getting it done.
But choosing the right time to sharpen your trimmer is important, look at for these signs:
Dull or jagged cuts:
If your trimmers are not cutting cleanly or just having a hard time in general, it’s a sign they may need shadowing.
Pulling or snagging:
This is the #1 reason your trimmers may need sharpening
It’s obvious to notice hair pulling in many cases, you’ll feel it can be quite painful.
Professional sharpening
Now the Steps I will outline in detail below can be done at home by yourself.
However, if you want your blades back to their best for your specific trimmer getting an appointment with your local blade sharpener can be a good move as I’ve said previously.
They may say that your beard trimmer blades aren’t worth sharpening and at times it’s better if you get a new set of trimmers with blades brand new and ready to perform.
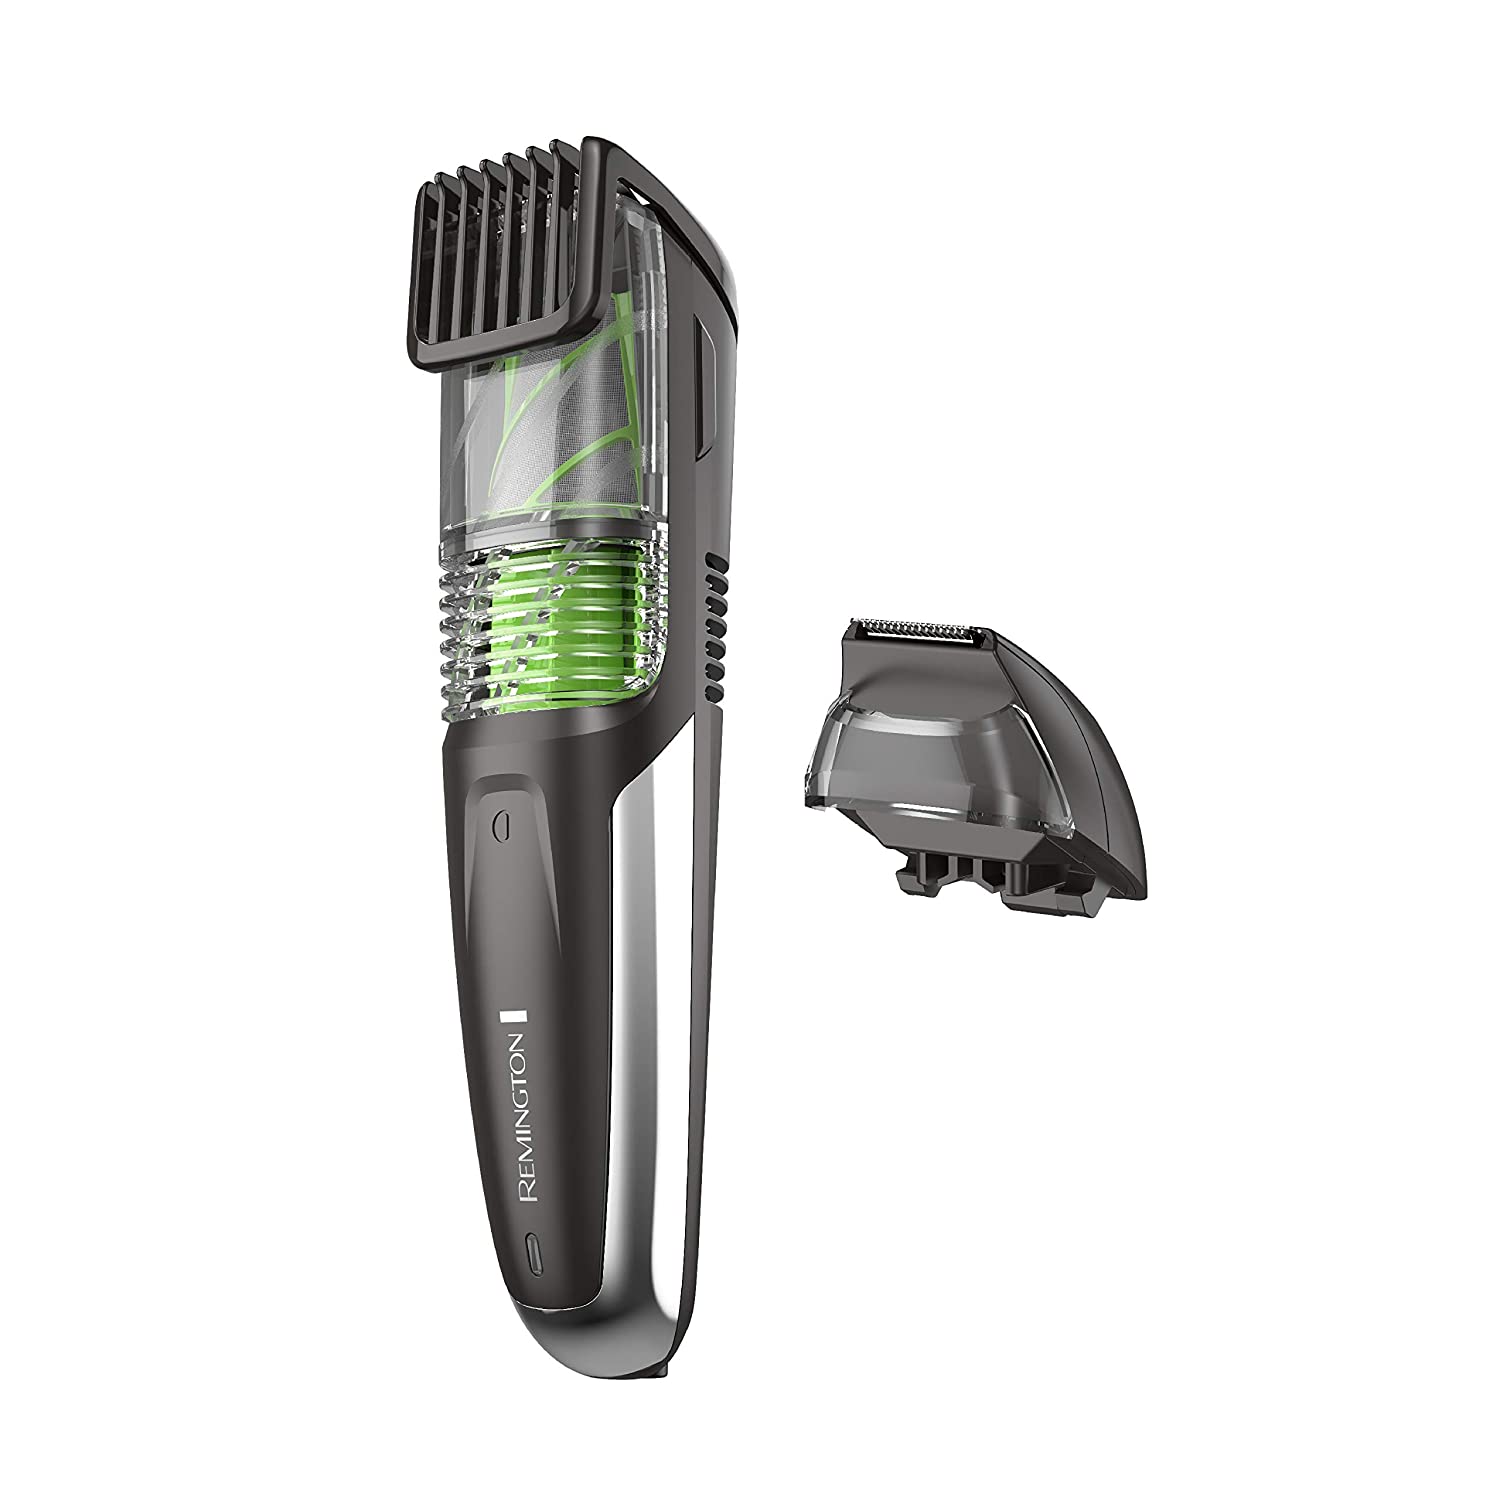
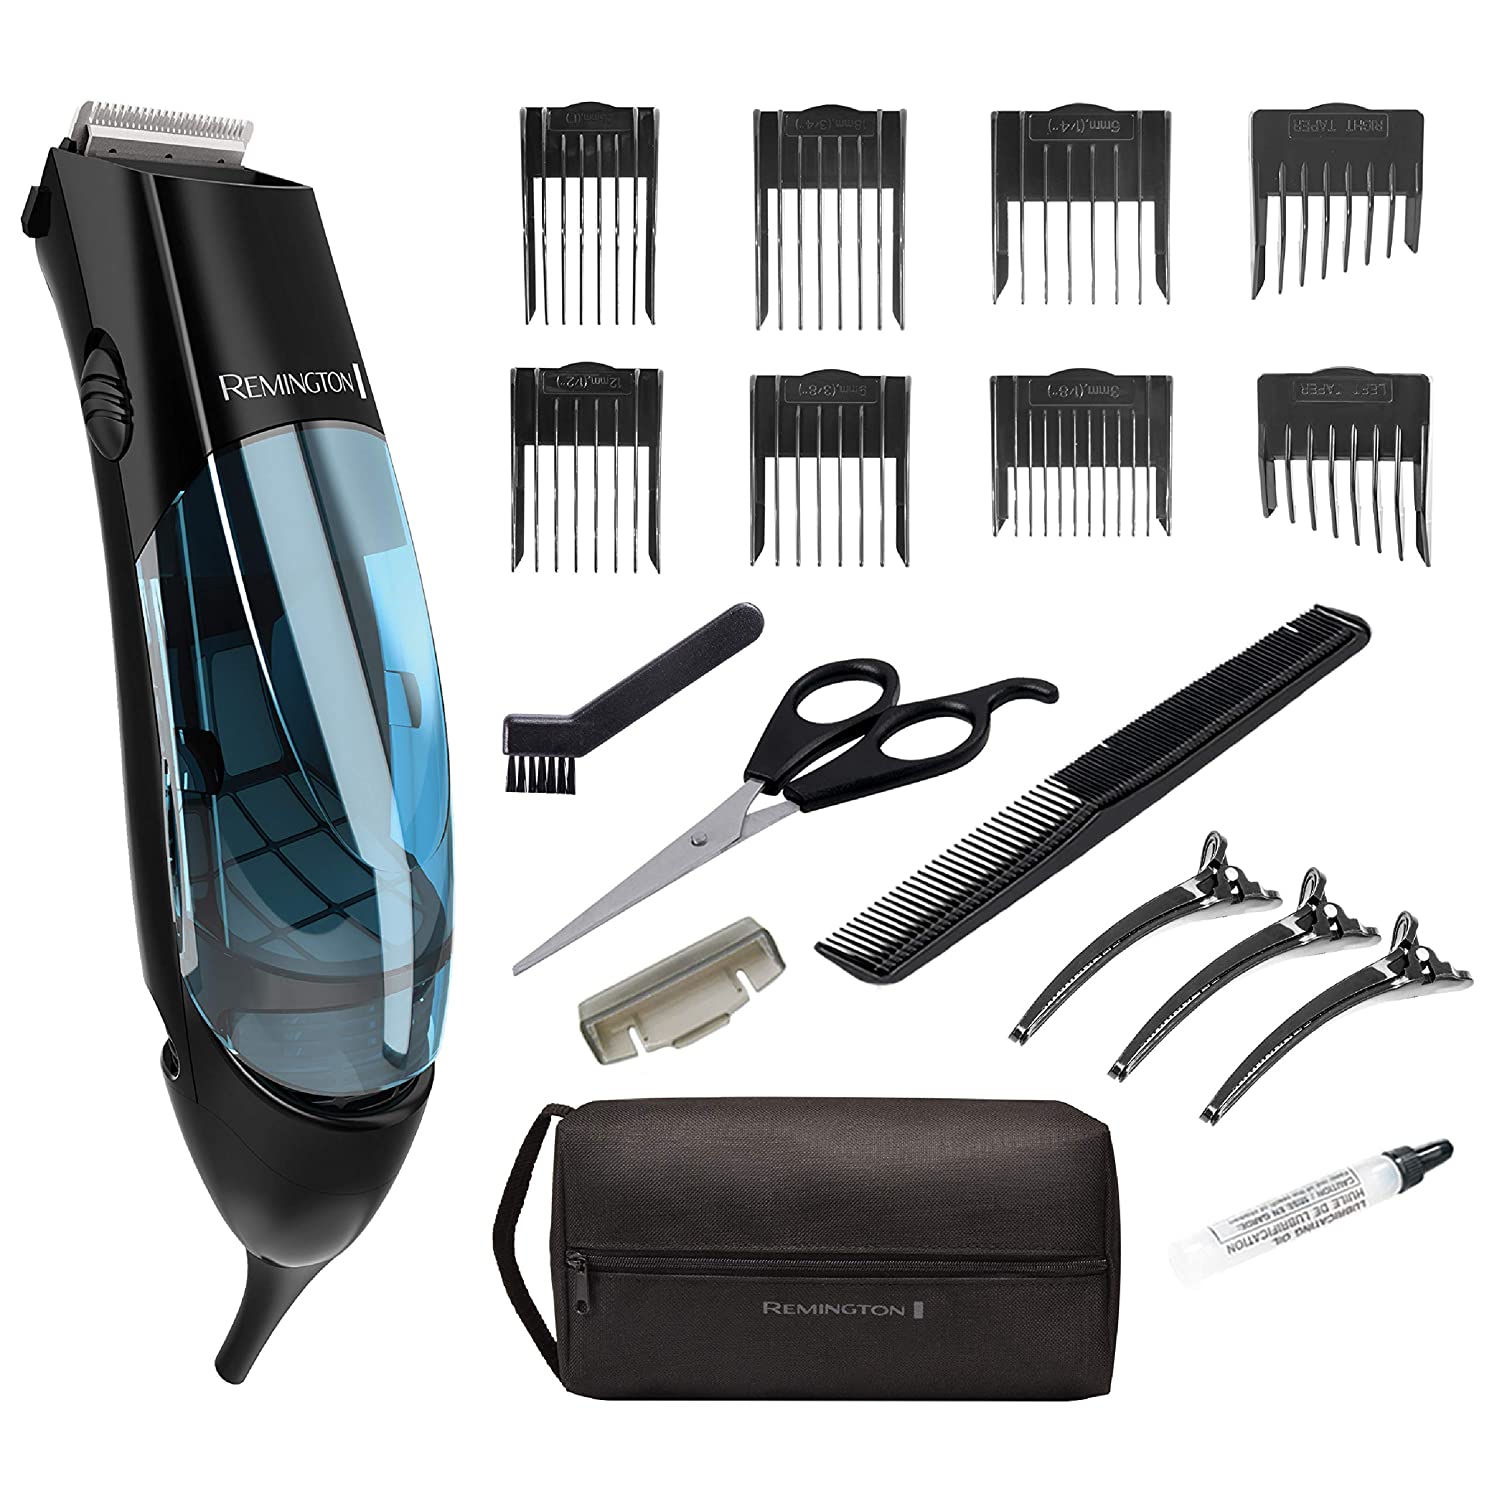
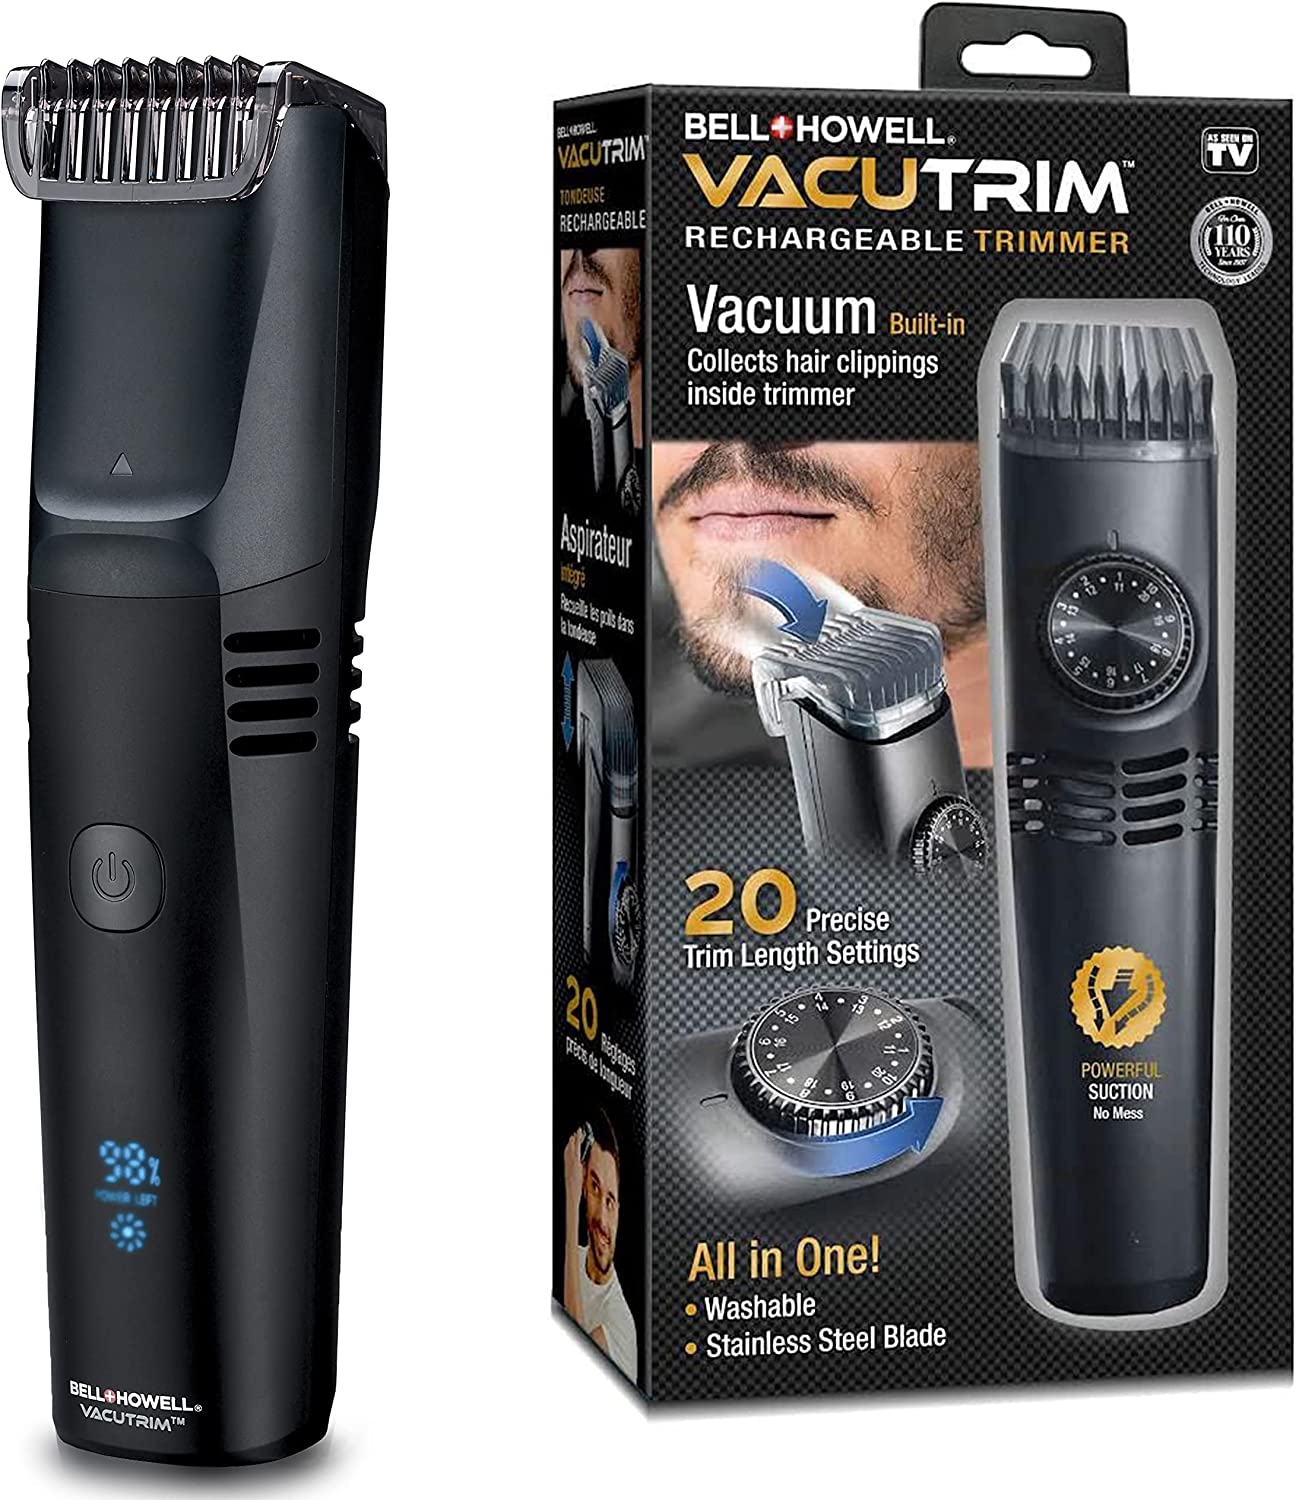
If you’re looking to get a beard trimmer that leaves a little mess after you are done, check out the best vacuum beard trimmers.
However, if you want to sharpen your beard trimmer, below is a more detailed outline of the process.
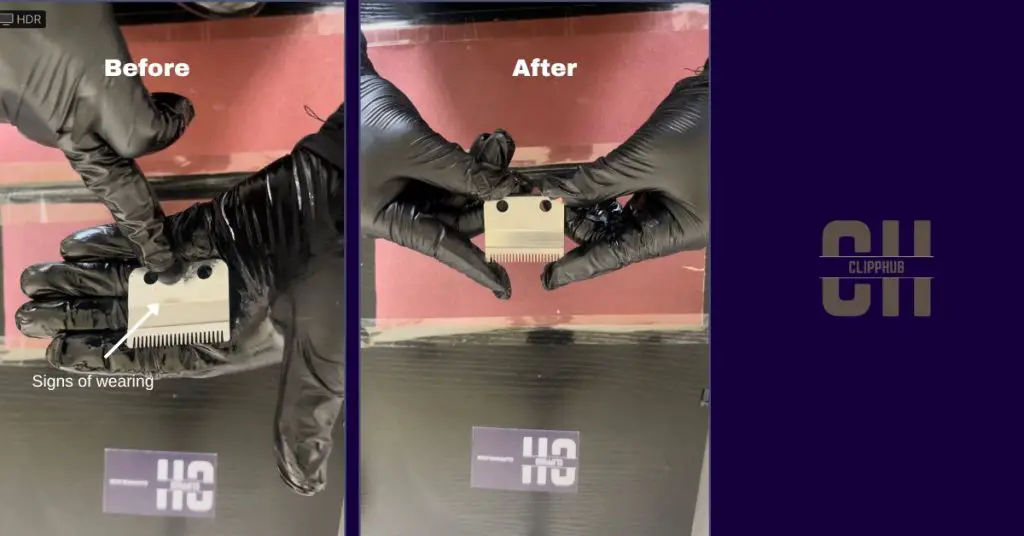
Ideally
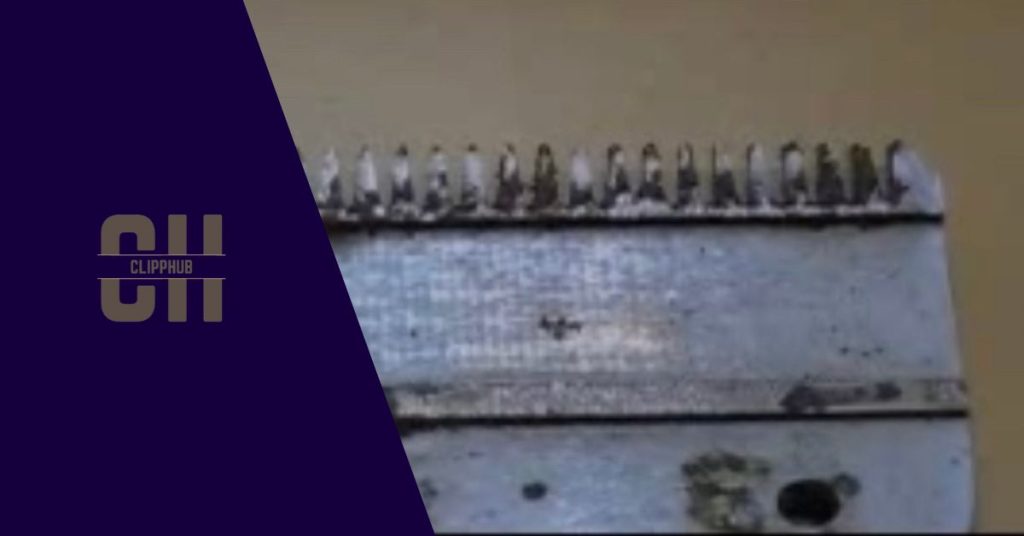
Ideally, when you remove your blades you want most of your blade to look clean, but still show certain signs of dulling and wearing like below:
If your blades look somewhat like this, then they’re good to be sharpened (Yes, it may vary but just make sure there isn’t too much damage on the blades).
Beard Trimmer Sharpening
Let’s go through How to Sharpen a Beard Trimmer.
Step 1: Remove the trimmer blades
Step 2: Sharpen
and do it again. Do this while applying reasonable pressure(You should hear a scraping noise as you sharpen).
Step 3: Sandpaper
Step 4: Inspect
If there’s no change yet, do a couple more strokes.
But the second you do notice a change in shine… stop!
This will buff out the blade.
If still nothing, stop, forcing it any more will do more damage to your blades.
Step 5: Clean
You want to do steps 2-5 for both of your baldes.

Step 6: Oil
Now that your blades are sharpened, you must keep them that way and that begins with oiling.
here is a quick image of where to drop your oil:
After dropping the oil in these spots, turn on your trimers to work the oil around the blades and then wipe away any excess oil.
The video below is a visual guide to this process:
The video below is a visual guide to this process:
This video shows the process visually.
While you can do it in Figure 8 as they did it’s better you do up down drag method to ensure your blade teeth get sharpened in one direction.
Beard trimmer maintenance
Now that your trimmer is sharpened, you need to keep it that way for as long as you possibly can.
Remember, the last thing you want to do is keep sharpening your trim constantly.
Clean the blades regularly:
It’s important to clean your beard trimmer blades.
Using a brush, you should be constantly sweeping away any hair from the edge as your cut turns beard or any body hair for that fact.
Wipe down your blades and use trimmer spray to disinfect and cool your blades.
Here are some of the best trimmer sprays for this job.
Oil the blades:
After cleaning the blades, be sure to oil them!
This is critical if you want your trimmer to stay its sharpest.
It has regular friction between each blade and keeps your trimmer blades moving without wearing each other out.
Use a light petroleum-based oil for this task.
I provide a guide on how to oil your beard trimmer.
Store the trimmers properly:
There is no point in doing all of these steps if you just go and place your trimmers in a bad location.
If you leave your trimmers in a bad environment you leave your blades open to all sorts and that’s often how your blades rust.
Look to keep your trimmers in a safe and dry location far away from moisture.
Below are some versatile bags that not only hold your beard trimmer but other grooming tools too.
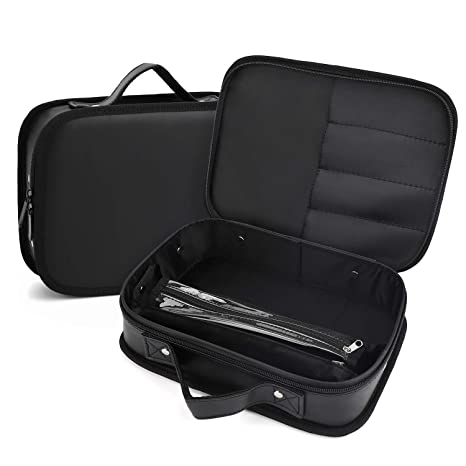
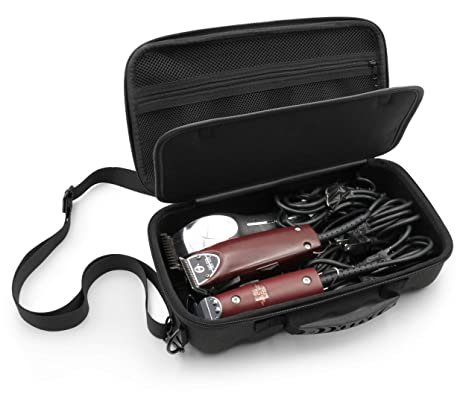
Check them out at their best price.
Use your trimmers right:
When using your beard trimmer, take things easy.
This reduces the amount of friction against your blades, this wears them out less and they cut better.
Use the right technique to avoid putting unnecessary stress on the blades.
Don’t push hard on your beard trimmers either. They will cut, just take your time and allow them to.
Conclusion On How to Sharpen a Beard Trimmer
In this article, we went over how to sharpen beard trimmers
We also went over certain factors you should look out for before putting your trimmers in the grinder.
But what’s also important is looking after your trimmers after they have been sharpened, to make sure they stay sharp for as long as possible.
If you have found this article helpful, check out your topics such as:
- do hair clipper damage hair
- what’s the difference between a shaver and a trimmer
- can you bring beard trimmers on a plane?