Sharpening Oster Clipper Blades (DIY Sharpening)
Oster Clippers are reliable.
But as we keep using them, they become blunt and need sharpening.
In this article, I’ll show you the process of sharpening Oster clipper blades.
We’ll go over hollow ground sharpening and flat surface sharpening.
As well as the things you should always look out for before sharpening your blades and the ENTIRE process of sharpening a clipper blade.
So.. with that said, let’s get into it.
Sharpening Oster Clipper Blades
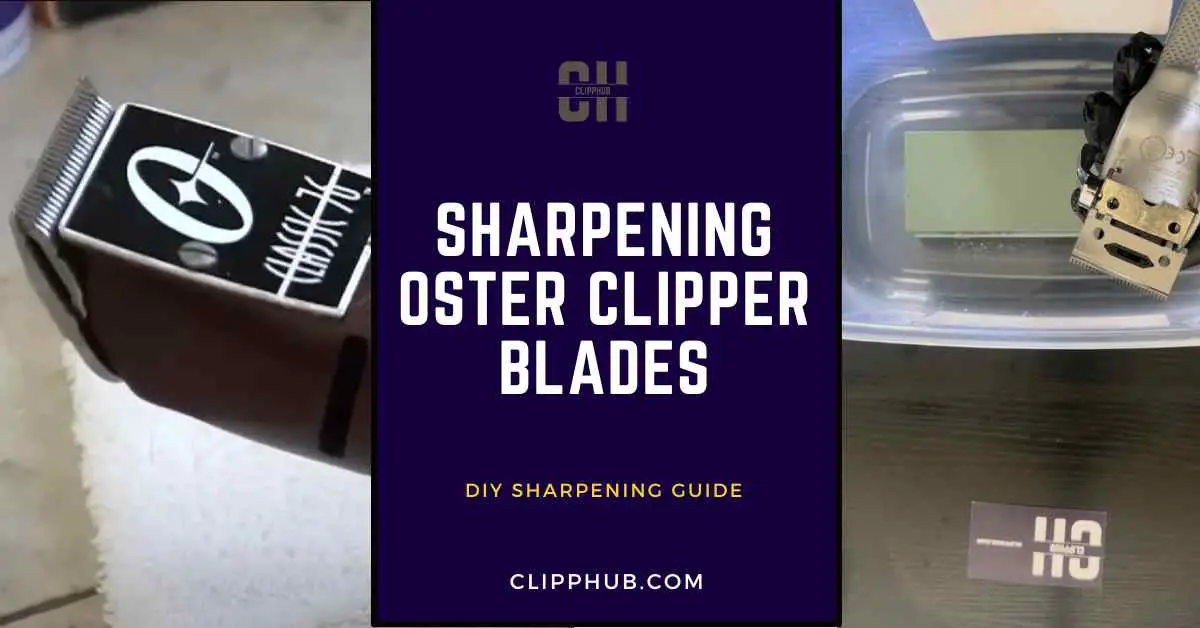
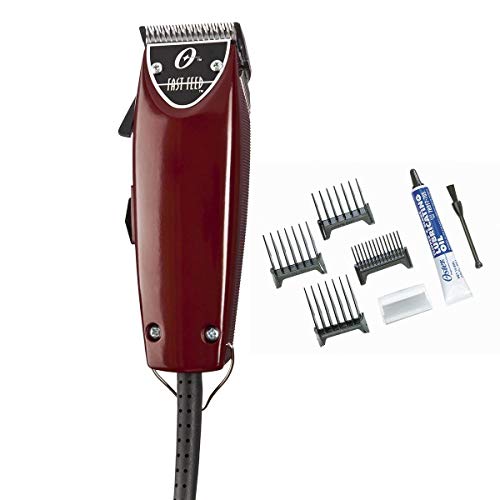
This is a quick guide on how to sharpen detachable Oster clippers such as the one below:
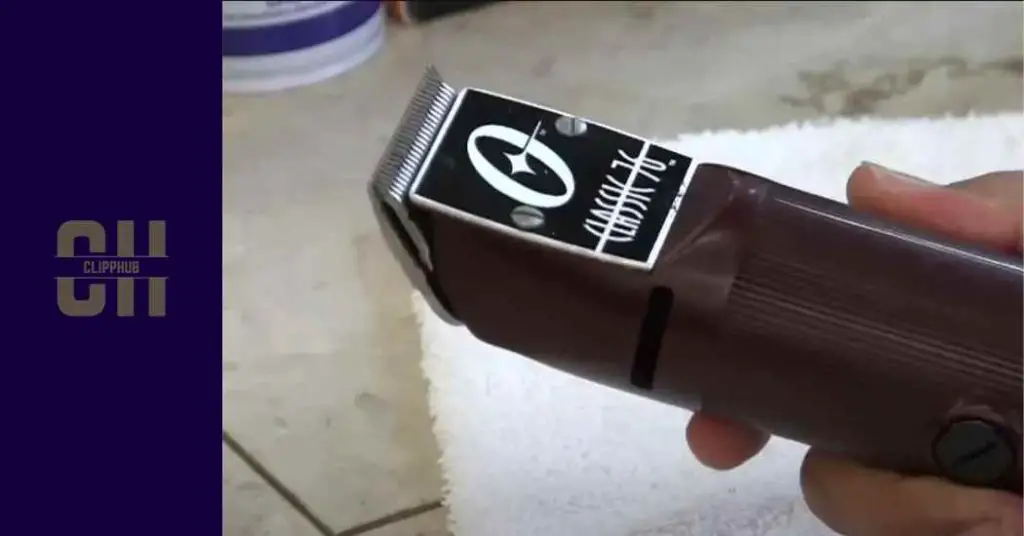
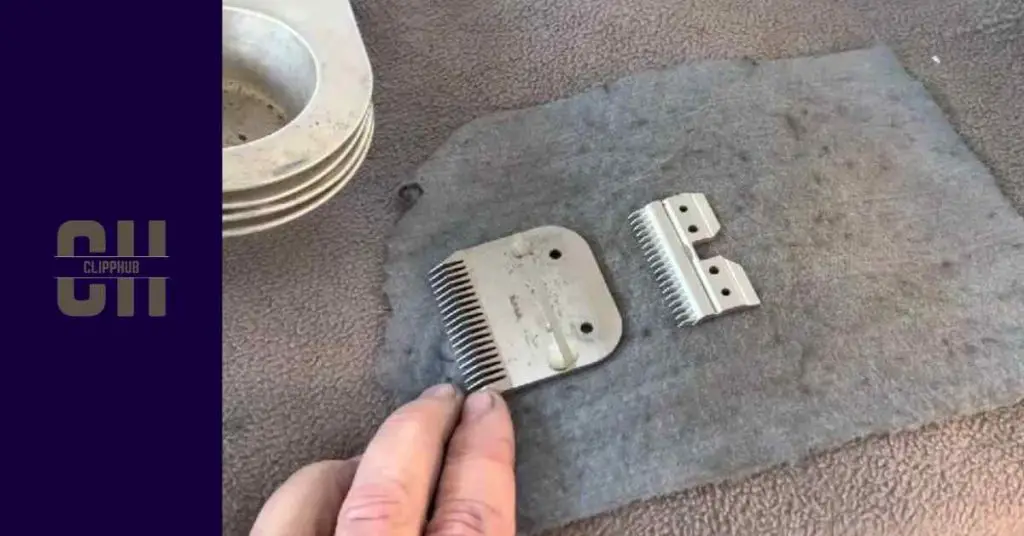
These are how the blades are set up:
Do this process for both blades. Then clean them off and look to put them back together.
This is only a quick overview of sharpening hair clippers but did you know this is only a small part of the clipper maintenance process?
Why not cover, cleaning, oiling, troubleshooting, and even how to use your clippers to fade… using the 1-minute, Clipphub cheatsheets from the New Clipper Mastery Bundle?
Fast-track your clipper mastery by grabbing them below:
Later on in this article, I’ll go through this process in more detail.
But what if you don’t have detachable clipper blades?
If your clippers have a lever, then you just have regular clippers, (Oster Adjust Pro for example)
For those types of blades, check out ones two articles below on how to sharpen those blades with sandpaper or a grindstone.
Detachable Oster clipper blades are close-cutting and high-precision blades.
But you should only sharpen them if you must and every now and then you might want to take them to sharpen on the grinding wheel…
I’ll explain more about this below.
Can You Sharpen Oster Clipper Blades
The method of sharpening I outline above and below in more detail is flat surface sharpening.
Flat blade sharpening is a boost you give your blades to give them a boost in sharpness.
But there’s a reason professional blade sharpening is important, that’s because flat blade sharpening doesn’t give blades a natural hollow that’s needed to really make them sharp and highly effective.
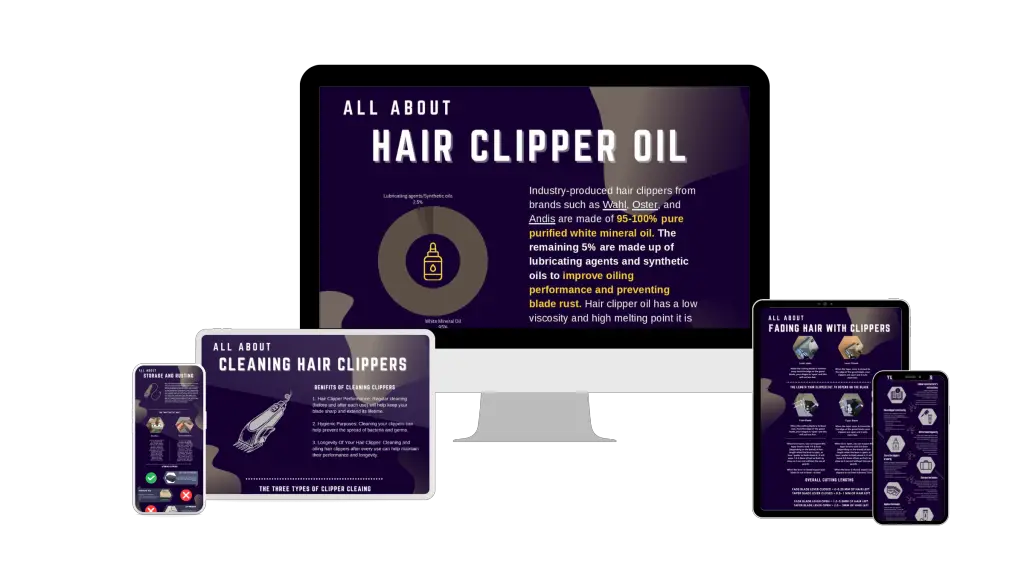
In order to do hollow blade sharpening, you’ll need to do a grinding wheel. These wheels are expensive but they have a unique property that allows them to create a “hollow” in a blade.
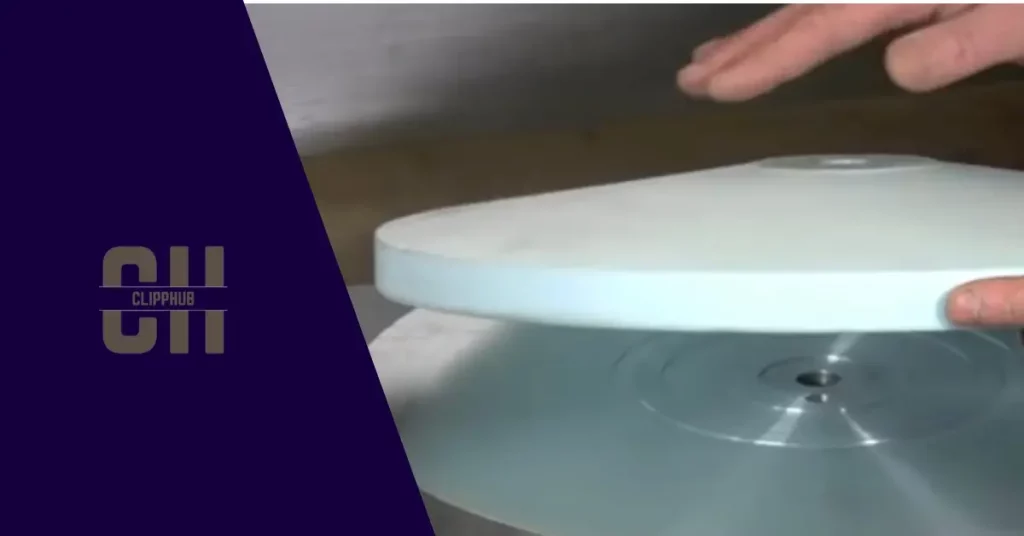
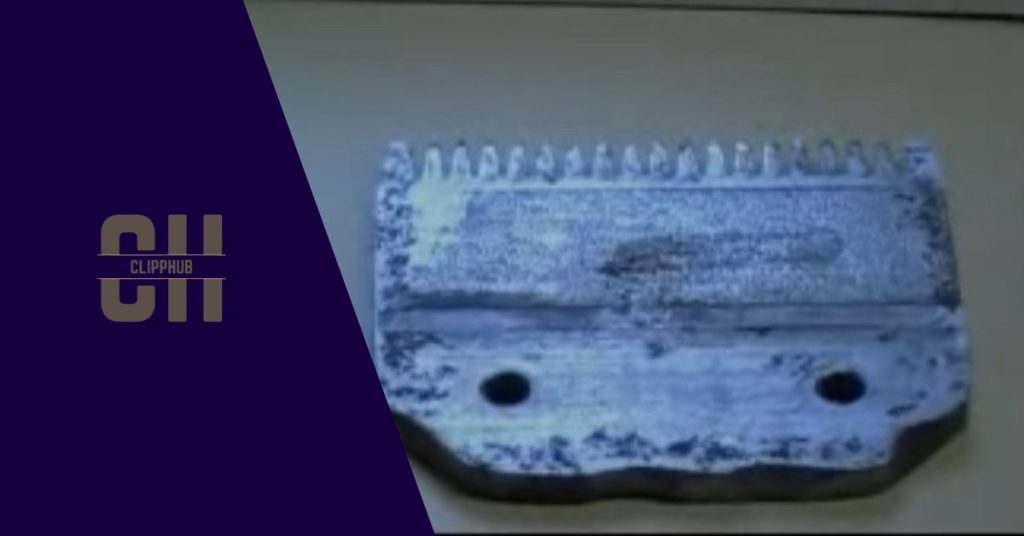
These sharpening wheels have a slight slant to them. When a blade is pressed over the wheel it creates a slight hollow on the blade that’s hard to see with the naked eye but you blade gets this shape:
That curve is a “hollow”. The plastic is exaggerated, it’s not as obvious as this but if you were to look at your baldes with a microscope, they’d have this shape.
The degree to which this hollow is formed depends on the:
- Sharpening angle
- Pressure was applied while sharpening
- The duration of sharpening
What are the benefits of this?
This intentional unevenness serves a purpose. When the edges of your blade(the lowest point of the blade), make direct contact with the hair or fur being cut, the sloping effect helps guide the cut material to the center of the blade(the “highest” point of the blade).
The unevenness of the hollow ground blade helps with efficient hair or fur capture and cutting. As the clipper moves through the hair, the center of the blade, which is the sharpest and highest point, does the bulk of the cutting.
The sloping sides of the blade guide the hair towards the center, ensuring a smooth cutting action and preventing the hair from getting caught or pulled.
Flat sharpening which is the method outlined in this guide, is more of temporary blade sharpening that will definitely
But don’t do it more than 3 times before visiting a professional blade sharpener to get hollow back in your blades.
Proffesional blade sharpeners will know the right hollow for your blades and are a good investment for your blade’s longevity.
Search for one in your local area once you’ve flat-sharpened your blades a few times.
#1 Sign To Sharpen Hair Clippers
When your hair clippers start pulling hair, it’s a sign that the blades are struggling to cut effectively.
Thoroughly clean and oil the clippers, and then try them again, if they’re still poor then you can sharpen them
Detachable Blade Replacement
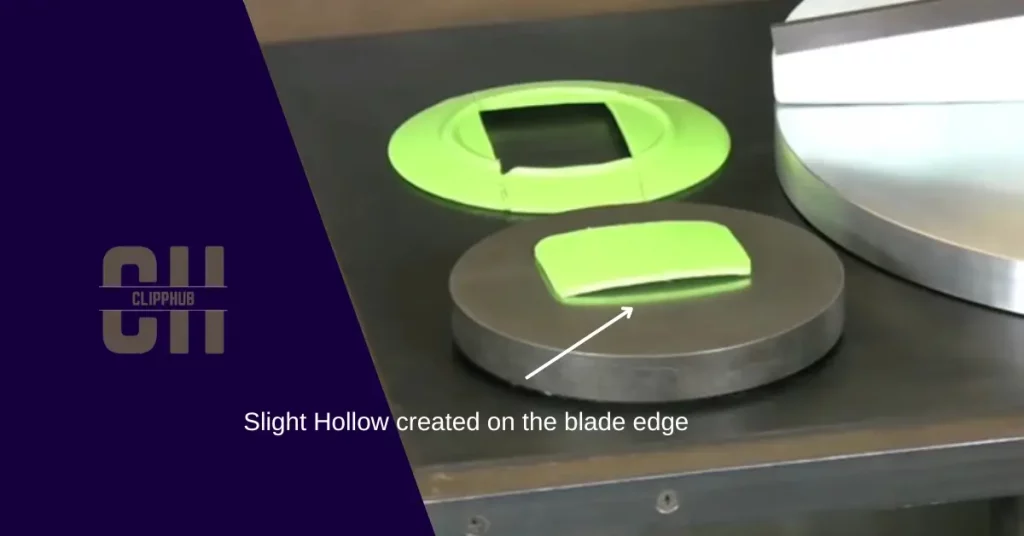
While it’s possible to sharpen detachable blades, there are times when they need to be replaced entirely.
Now, it doesn’t mean they can’t be sharpened it’s just often times if you sharpen or rusted/worn down clipper blades, you could end up doing more harm than good.
Either seek professional help or replace the blade/ clipper as a whole.
Here are some of the best Oster clippers at their best price.


Sharpening Oster Clipper Blades
If you want to sharpen your Oster clipper blades, it’s important to understand how the blade fits inside the clipper.
This knowledge will be helpful when it comes time to reassemble your clipper blades after sharpening them.
This video by Ivan zoot, explains these blades well.
Detachable Oster clipper blades are propped up and held together by a tension spring. This has to be removed along with the socket, and blade guide.
Oster Clipper Blade Sharpening
To get to the blades themselves, you’ll need to remove and unscrew the screw bolt holding the socket to the top cutter. As shown below.

This video shows how to remove the blade from your clipper body, you’ll need to remember this as after you’ve detached your blade from your clipper body you’ll need to know how to put it back together.
Now onto the tools needed.
Oster Blade Sharpening
Below I have a quick list of tools you will need to begin sharpening your clippers correctly.
- A small hard bristle brush ( It can be a toothbrush)
- A grindstone/ Sharpening stone ( 400 grit + 1000 grit grindstone)
- A screwdriver
- Cloth
- Blade wash
- Magnet
- A scale (optional)
- Hair clipper oil


How To Sharpen Oster Clipper Blades At Home
Let’s get into it.
Step 1: Remove your hair clipper blades.
Unscrew the two bolts holding your hair clipper blades together with your screwdriver.
Spend some time on this step and take care when removing the blades, you don’t want to bump or lose parts of your blade.
This video goes through how you dis-assemble a detachable clipper blade:
Remember you only after the the guard blade and cutting blade, put the other parts away safely.
Or you could put the blade back together then apply oil as shown later.
Step 2: Clean
Always clean your clipper blades before you sharpen them.
Dirty clippers may be the reason your blades are not performing well, so deep clean your clippers, check how they perform, and then look to sharpen.
Using your brush make sure to brush away any dirt and hair that is on your clipper blades.
If your blades are really dirty, you can use blade wash and (gently) scrub any grime away, then dry them off with a cloth.
This:
- Makes it easier for you to sharpen
- Makes it clear when your blade is sharp
This step cannot be ignored it makes things a lot easier and it may solve your hair clipper problem all in one.
Step 3: stone
You’ll want to submerge your grindstone in water for 10-15 minutes.
This does one or two things:
- Gets the air bubbles out of the stone
- Makes the stone less rough.
Afterward, Place your grindstone on a flat surface with the 400 grit side up, facing up.
Step 4: Blade sharpening
Before you begin, take note of how dull the flat side of your blade looks.
Then position your clipper blade making sure it is flat on the grindstone.
and do it again. Do this while applying reasonable pressure(You should hear a scraping noise as you sharpen).
You’ll want to count how many times you do a full motion on the 400grit side of your grindstone as you’ll do double on the 1000 grit side of the grid town to “buff” the blade out
But to start off with, do this ten times ( the full up and down motion).
After these 10 passes, check your blade. You should see that the marker has gone and your blade is very shiny, compared to when you started.
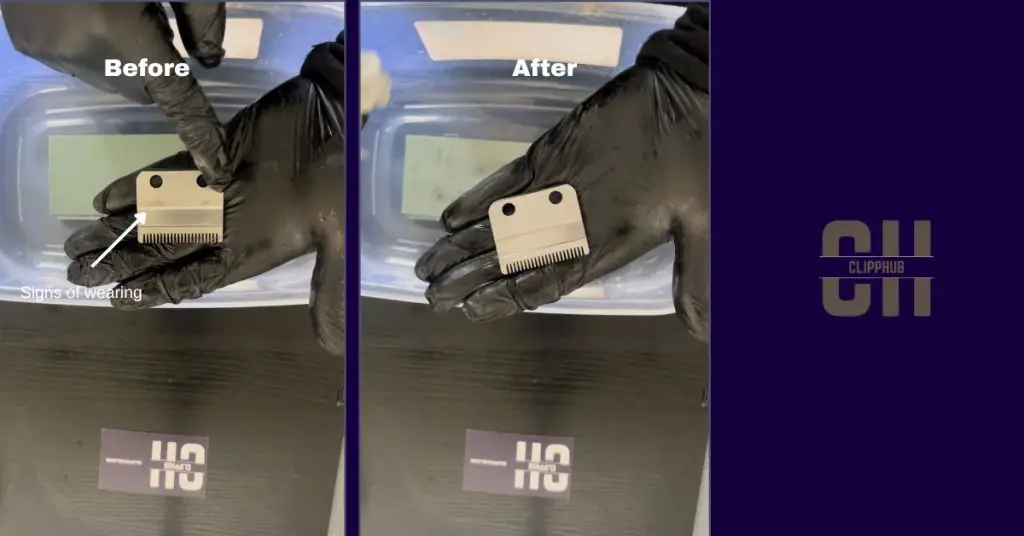
This is a sign you have sharpened your blade to good levels and you do not need to go any further.
However, if you do not see this, pass your blade a few more times until you see these changes.
Now, the second you notice your blades are shinier from sharpening on the 400-grit side you want to flip your grind time to the 1000-grit side
On the 1000-grit side of your grindstone, look to double the number of strokes you did on the 400-grit side.
Doing this will buff out your blade and really give it that cutting edge.
You don’t have to put as much pressure as you did with the 400 grit sandpaper side, remember you’re just buffing out the blade.
This video is of a lever-based clipper but shows the sweeping motion, the up-down motion you should be after:
Don’t do any fancy types of sharpening
Just sharpen as stated above for both your cutting blade and the top cutting blade.
Step 3: Wipe
Once you are satisfied with the look and sharpness of your blade, you can put it back together.
But first, use a cloth to wipe down your blades, just to get rid of any dust, and add some extra shine to your blades.
Put Blades Back Together
Although old, this video shows how you can do it:
Once your blade is back together, you need to oil them to reduce that initial friction.
Now you can back them back on your clipper body.
Just as shown previously.
And just like that, your Oster clippers are now sharpened all you need to do is app
Conclusion
Reading this article should give you an idea of how to sharpen Oster clipper blades.
To avoid any risks, always check if your blades actually need sharpening to avoid wearing them out.
Then, move on to adjust the blade tension and reposition the blade for an improved sharpening experience.
FAQ – Oster Blade Sharpening
How often should I sharpen my Oster clipper blades?
Can I sharpen my Oster clipper blades myself?
What’s the best way to maintain my Oster clipper blades after sharpening?
If you found this article helpful please check out another article on this topic such as how to sharpen dog clippers and how to sharpen horse clipper blades