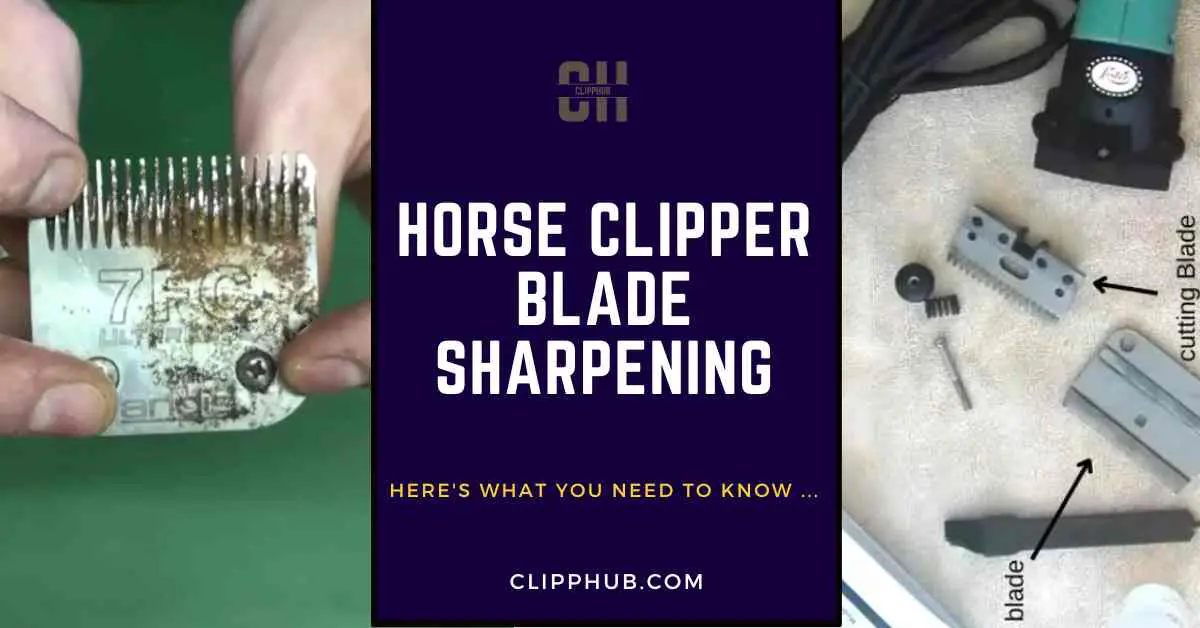
We want our horses to look their best.
Sometimes that involves using clippers, but oftentimes times our blades get dull.
In this article, we’ll go over horse clipper blade sharpening. (I’ll provide some extra tips to ensure you get the process right).
With that said, let’s get into it.
Horse Clipper Blade Sharpening
Quick Guide on the Process:
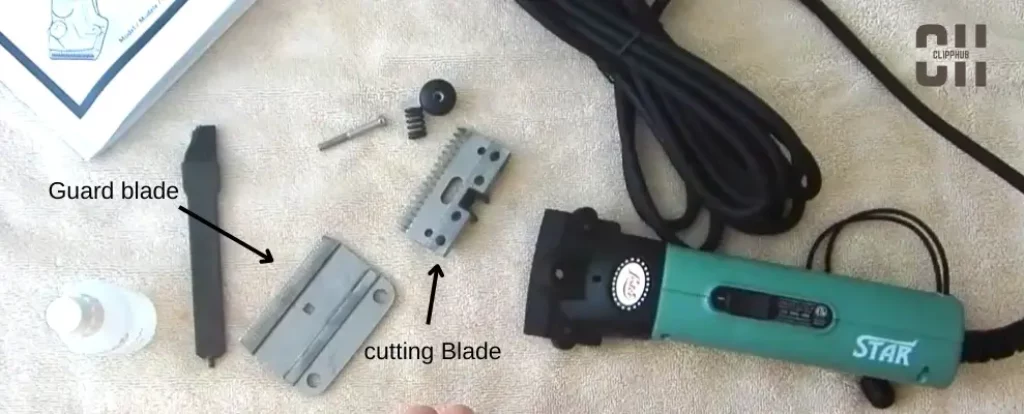
Do the last 2 steps for both blades.
This is a brief outline of how to sharpen horse clipper blades.
Later on in this article, I’ll go through this process in more detail.
Sharpening clippers is important.
But did you know it’s only one part of the clipper maintenance process?
What about correct oiling, cleaning, and overall maintenance? These are important too if you want to keep your blades for longer.
Well, you can learn all of this and more in the free Clipphub maintenance guide.
- Easy to practice steps
- Clipper mastery in minutes
- Free and keep forever
Although sharpening can give your clippers a new lease on life.
You shouldn’t just sharpen them for the sake of it!
Horse Clipper Blade Sharpening
Your blades can be sharpened 3-5 times before they will begin to wear out. Avoid constantly sharpening your clippers at any convenience.
Aim to sharpen your blades well, one time, rather than constantly sharpening them.
The blades of your clippers may get blunt if you oversharpen them or simply sharpen them randomly. You must prevent damaging your blades.
Signs to not sharpen Hair clippers
If your clippers are unclean, avoid sharpening them.
People believe that simply because their blades are a little dirty, they need to be sharpened. That is not the situation.
Don’t confuse a dirty and blunt clipper.
Sure, both can impact performance, but the key is in how you address the issue. If you simply sharpen them at the first sign of trouble, all you’re really doing is unnecessarily thinning your blade.
If any of the true signs below arise when you are cleaning and maintaining your clippers, it is justified for you to sharpen your blades.
#1 Sign To Sharpen Hair Clippers
Your blades need to be sharpened if they start pulling hair. When your blades are simply not sharp enough to cut your horses’ coats with ease, hair-pulling happens.
If you notice this, you should be in the clear to sharpen your blades.
I provide a full guide below.
5 Tips to Stop Clippers Pulling Hair and Ensure a Clean Cut
Blade Replacement
But, sometimes there are signs that your removable blades need to be replaced.
Which are:
Sharp blades
It may indicate that the blade needs to be sharpened if you run your finger over it and it feels pretty rough or gritty.
You could need to totally replace your clippers’ blades or have them professionally sharpened if it’s too abrasive or even cut you.
Chips
Your hair clippers might need to be replaced if you can see that the blades are dull or if there are obvious nicks or chips on the blade.
It doesn’t mean you can’t perform them, but it will be harder, and you might need the help of an expert.
Rusted Clipper Blades
Dog blades that rust aren’t uncommon, we use blades on all sorts of dog coats, Dirty, wet, oily it does not matter, we have a job to do.
However, over time our blades can feel the effect of this and rust, especially if we do not store them correctly to prevent rusting.
So how should you approach sharpening your rusted clipper blade?
In cases like these, you look to get your blades sharpened professionally or replaced.
Below are some premium horse clippers you can look to invest in.
How To Sharpen Horse Clipper Blades
Before we go more into detail on the process, there will be tools you will need.
Tools
- A small hard bristle brush ( It can be a toothbrush)
- A grindstone/ Sharpening stone ( 3000 – 8000 grit ideally)
- A screwdriver
- Marker/ Highlighter
- Cloth
- Warm Water
- Magnet (optional)
- A scale
- clipper oil
With these items, your clipper blades will be brand new.
Now you are equipped, let’s start sharpening your clippers with a grindstone at home.
Step 1: Remove your clipper blades.
Using your screwdriver, unscrew the two bolts that hold your hair clipper blades together.
Take your time with this step and be careful when taking the blades out.
Make sure not to hit or move the other components of your hair clipper.
Store other parts of the hair clipper blade in a safe space as they will be needed when putting the blade back together.
Step 2: Quick Clean
Always clean your clippers before you sharpen them.
Dirty clippers may be the reason your blades are not performing well, so deep clean your clippers, check how they perform, and then look to sharpen.
Using your brush make sure to brush away any dirt and fur that is on your clipper blades. Then you water the blades and dry them off with a cloth.
This:
- Makes it easier for you to sharpen
- Makes it clear when your blade is sharp
This step cannot be ignored, especially if you want a clean surface to sharpen on
Step 3: Stone
Place your grindstone on a flat surface.
This is key as you want to avoid sharpening your blade at an angle, it can damage the teeth and ruin your blades overall.
Using a highlighter/ marker, mark the inside of both blades. These are the sides where both blades touch, this interior will be the side of the blade you will be sharpening. Using a marker maker helps to indicate when your blade is fully sharpened and to make sure you don’t overdo it
Step 4: Horse Blade sharpening
Make sure your blade is perpendicular to the grindstone then place your blade on the stone flat.
Make sure it is the interior of the blade facing the stone (The flat side of the blade).
Now holding your blade firmly and keeping your blade straight, slide your blade across the grindstone in a sweeping motion. Move your blade back and forth on the stone.
Do this about ten times ( with a figure of 8 motion.)
If you are struggling for grip, splash a bit of water on your grindstone to help with lubrication or use a magnet to hold your hair clipper blade.
After these 10 passes, check your blade. You should see that the marker has gone and your blade is very shiny, compared to when you started.
here’s an example of a regular clipper:
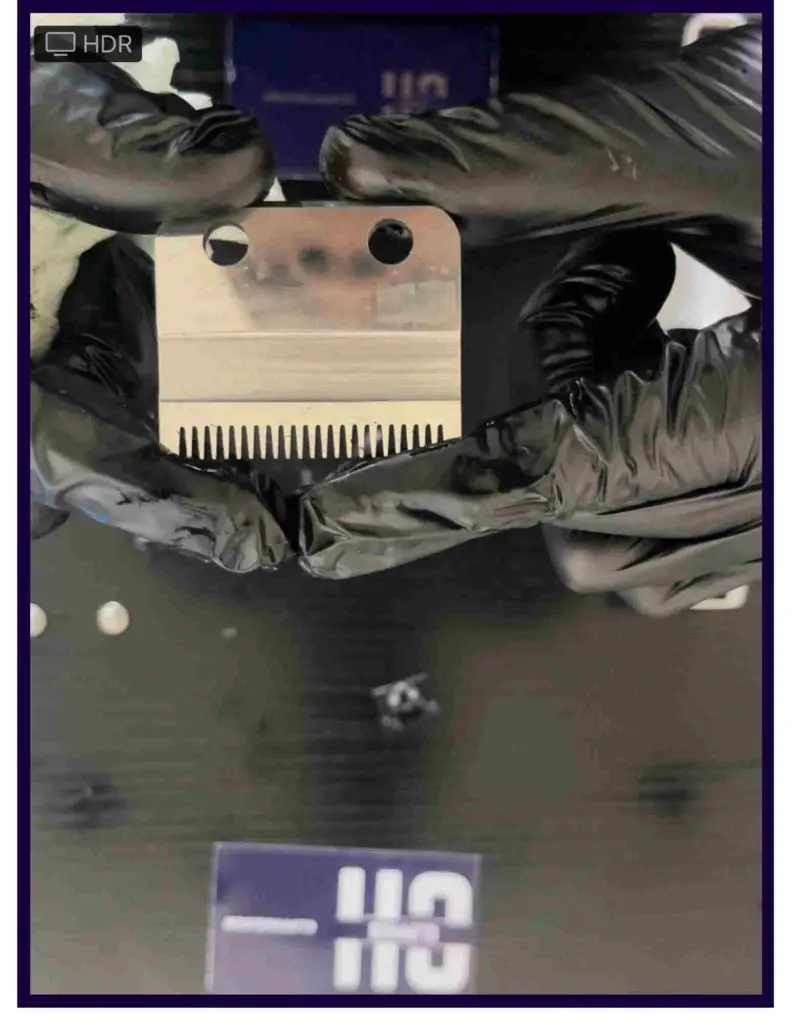
This is a sign you have sharpened your blade to good levels and you do not need to go any further.
However, if you do not see this, pass your blade a few more times until you see these changes.
Do this for both blades.
Step 5: Wipe down
use a cloth to wipe down your blades, just to get rid of any dust, and add some extra shine to your blades.
Just like that, you have new, sharp blades ready to cut.
Step 6: Oil
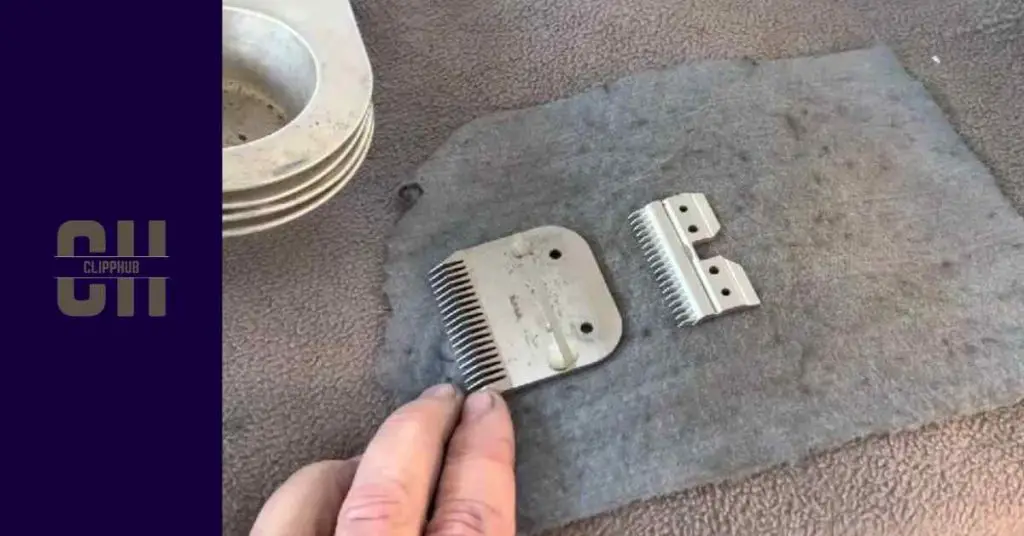
While your clipper blade is in the open, there is no better time to oil them.
Using hair clipper oil or an alternative such as baby oil or mineral oil, run a line of oil across the inside of the top cutting rail teeth.
The two drops on either side of the sole plate.
Then put a drop of oil on the teeth of the cutting blade.
Now all that’s left is to put your horse clippers back together. This video illustrates the last two steps:
Conclusion
In this article, we went over horse clipper blade sharpening
You should only sharpen your clipper blades if they pull hair as sharpening them wears the blade out.
From there, keep your blades oiled and clean for the best performance.
FAQ
How often should I sharpen horse clipper blades?
Can I sharpen horse clipper blades myself?
What are the signs that my horse clipper blades need sharpening?
If you found this post helpful, why not learn how to sharpen Andis’s hair clippers or sharpen Oster’s hair clippers?

